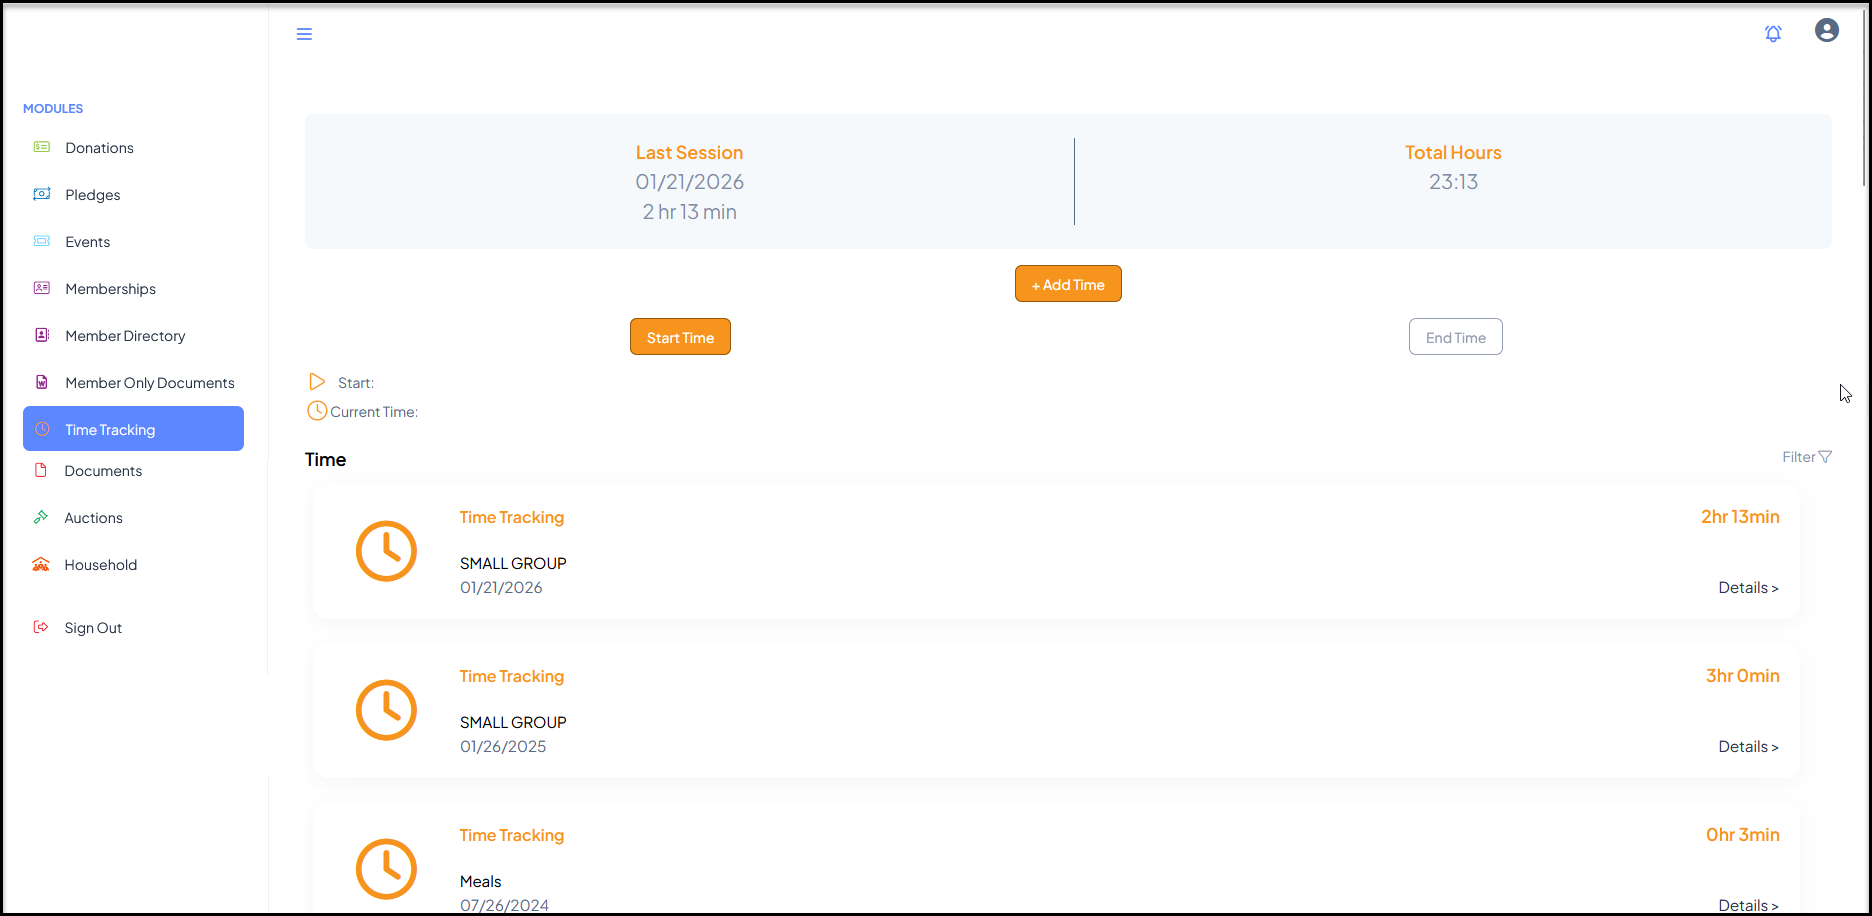
If you have the advanced portal activated and you have selected Time Tracking in the list of options available for the portal, your constituents will be able to see their time tracking history and add new time if you have not disallowed that on the Portal Info page.


Clicking on the Time Tracking icon will open the grid to show the constituent's time tracking history. The Total Hours and Last Time Tracking Date are shown on the top left side of the grid.
The constituent can export this data to Excel using the icon on the top left of the grid.
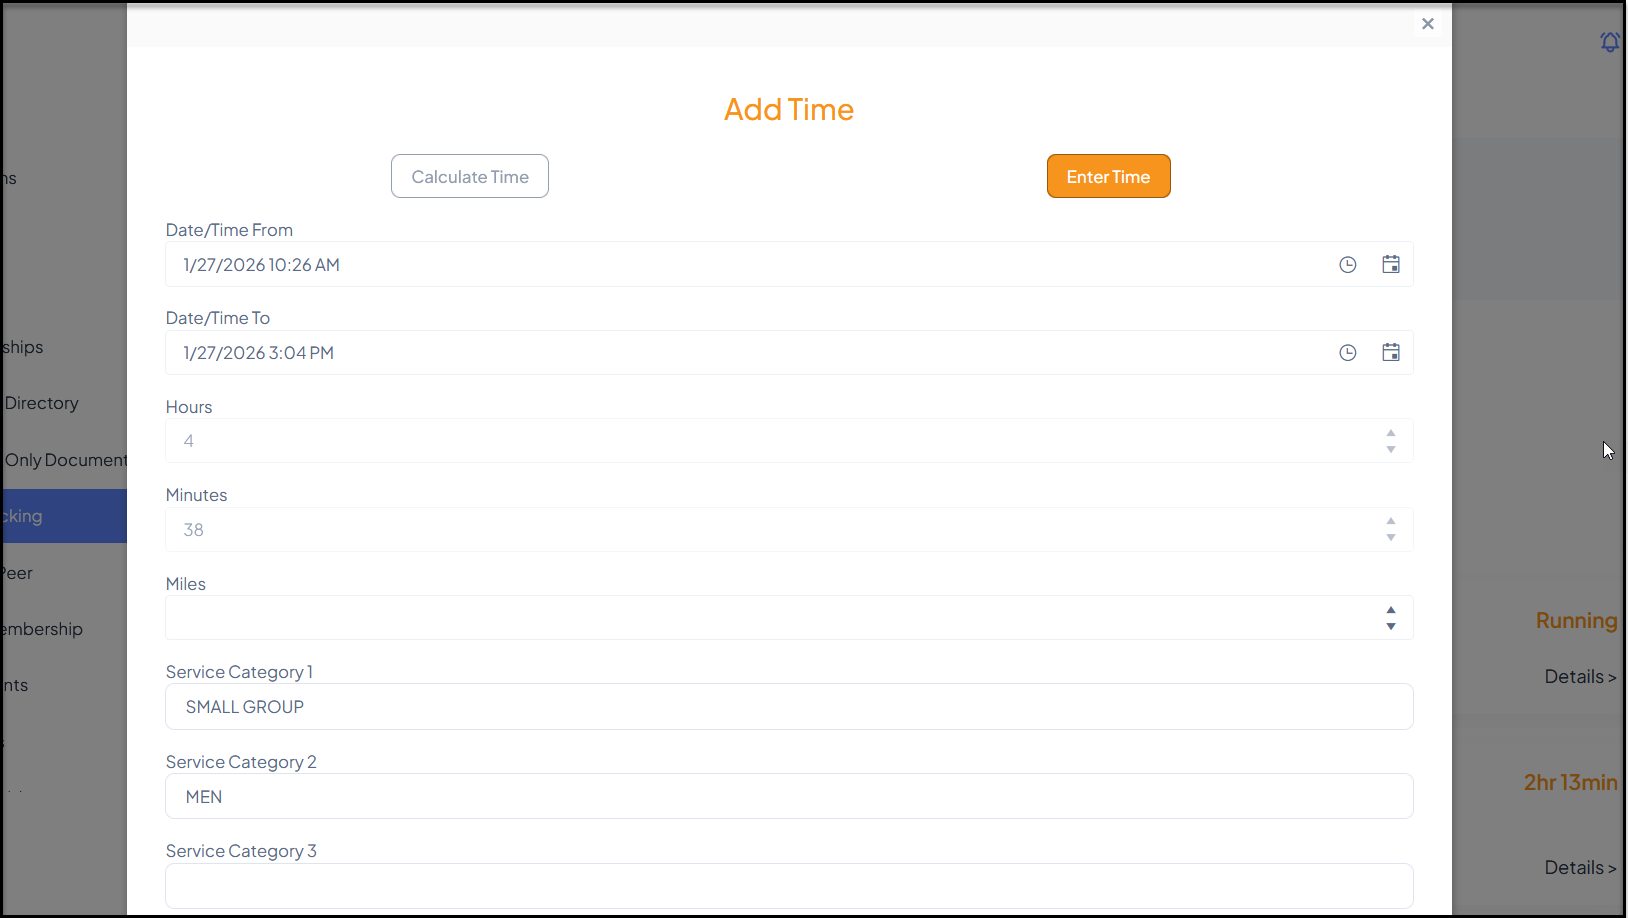
In the new window they can allow the software to calculate the time for them by entering the dates and times, or they can click on Enter Time to manually enter the date and number of hours and minutes.
They have access to all the same fields as internal users do and can assign the applicable Service Categories, Related Contact, Location, and add Comments.
When they click Update the record will be saved in the database. Only an authorized internal user can edit the information.

Constituents can also use a timer feature to turn on and off time tracking from the portal. Clicking on Start Time will open a pop up window. Clicking on Start Time again will start the timer.

The timer will show the start time and how many hours and minutes have currently elapsed. To stop the timer, the constituent will click on End Time.

The time tracking entry window will open again with the hours and minutes automatically entered. This information can be edited as needed and the constituent will assign the other fields as needed. They will click Update at the bottom of the window to save the record.
Clicking on the Details link for any time record will provide a quick reference for the day and hours as well as any details or additional info. Clicking Back will return them to the previous window.

The user can navigate to another module using the links on the left menu or go to the homepage by clicking on the organization's logo in the top left corner.