
In order to send an email campaign to your email lists, you will need to use an email template. You can create and edit templates prior to creating a campaign from the Email Marketing module by clicking on the Templates page. You can also create and edit templates in when creating a campaign.
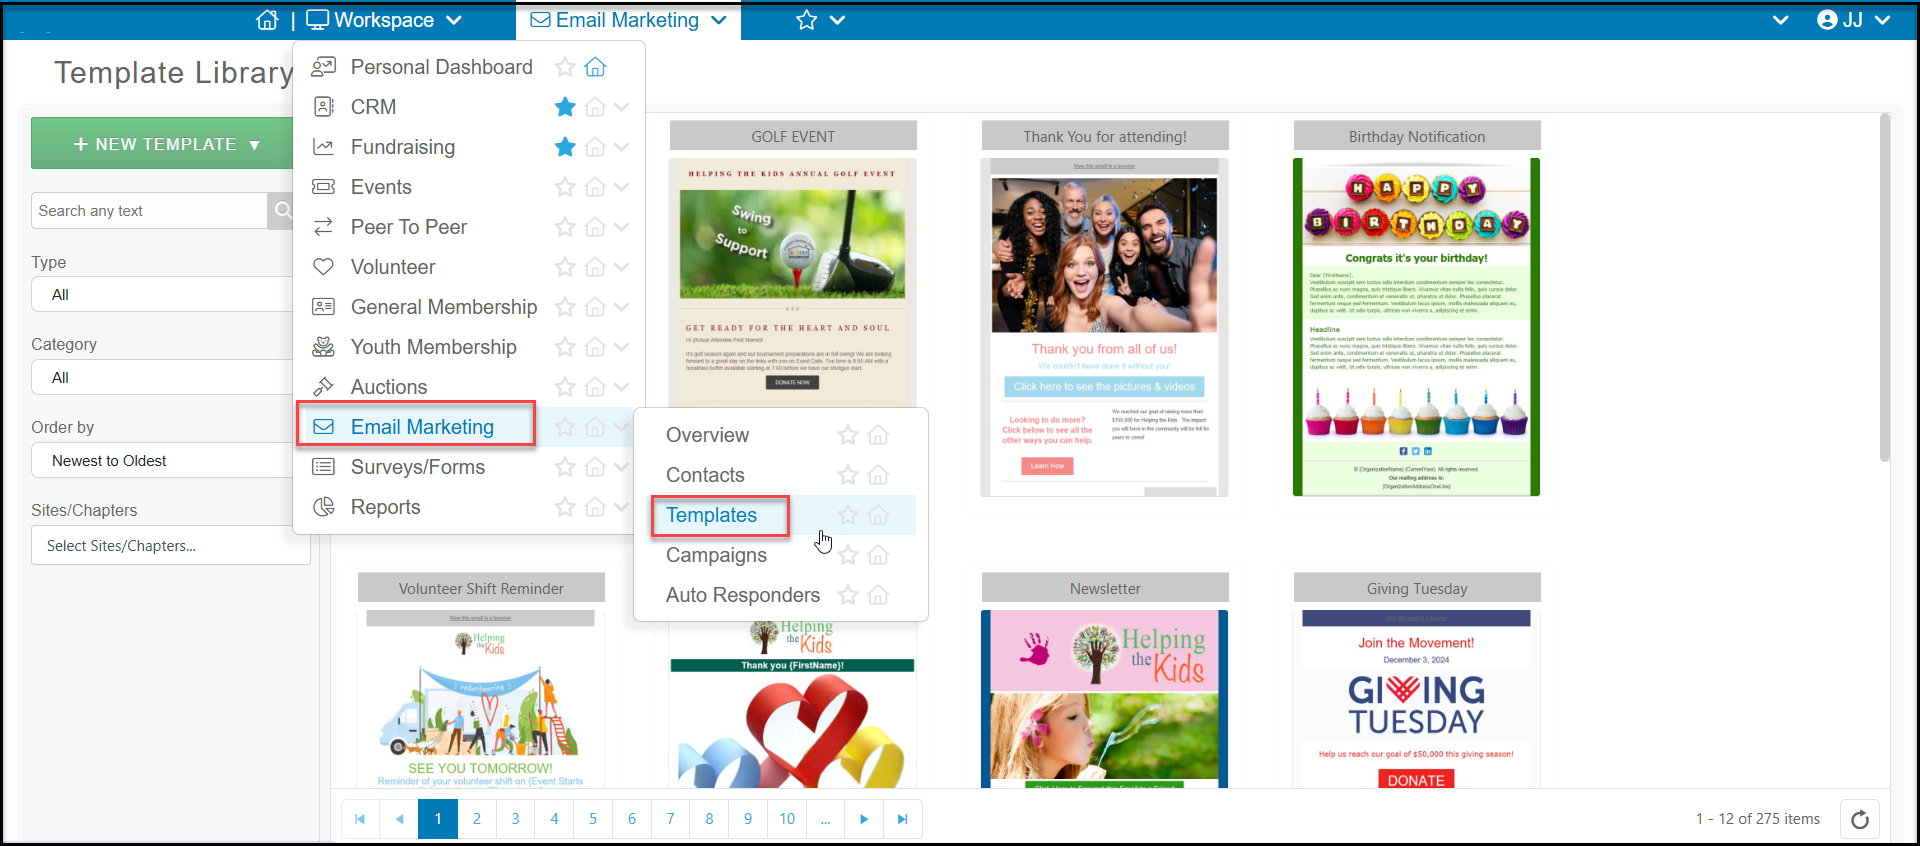
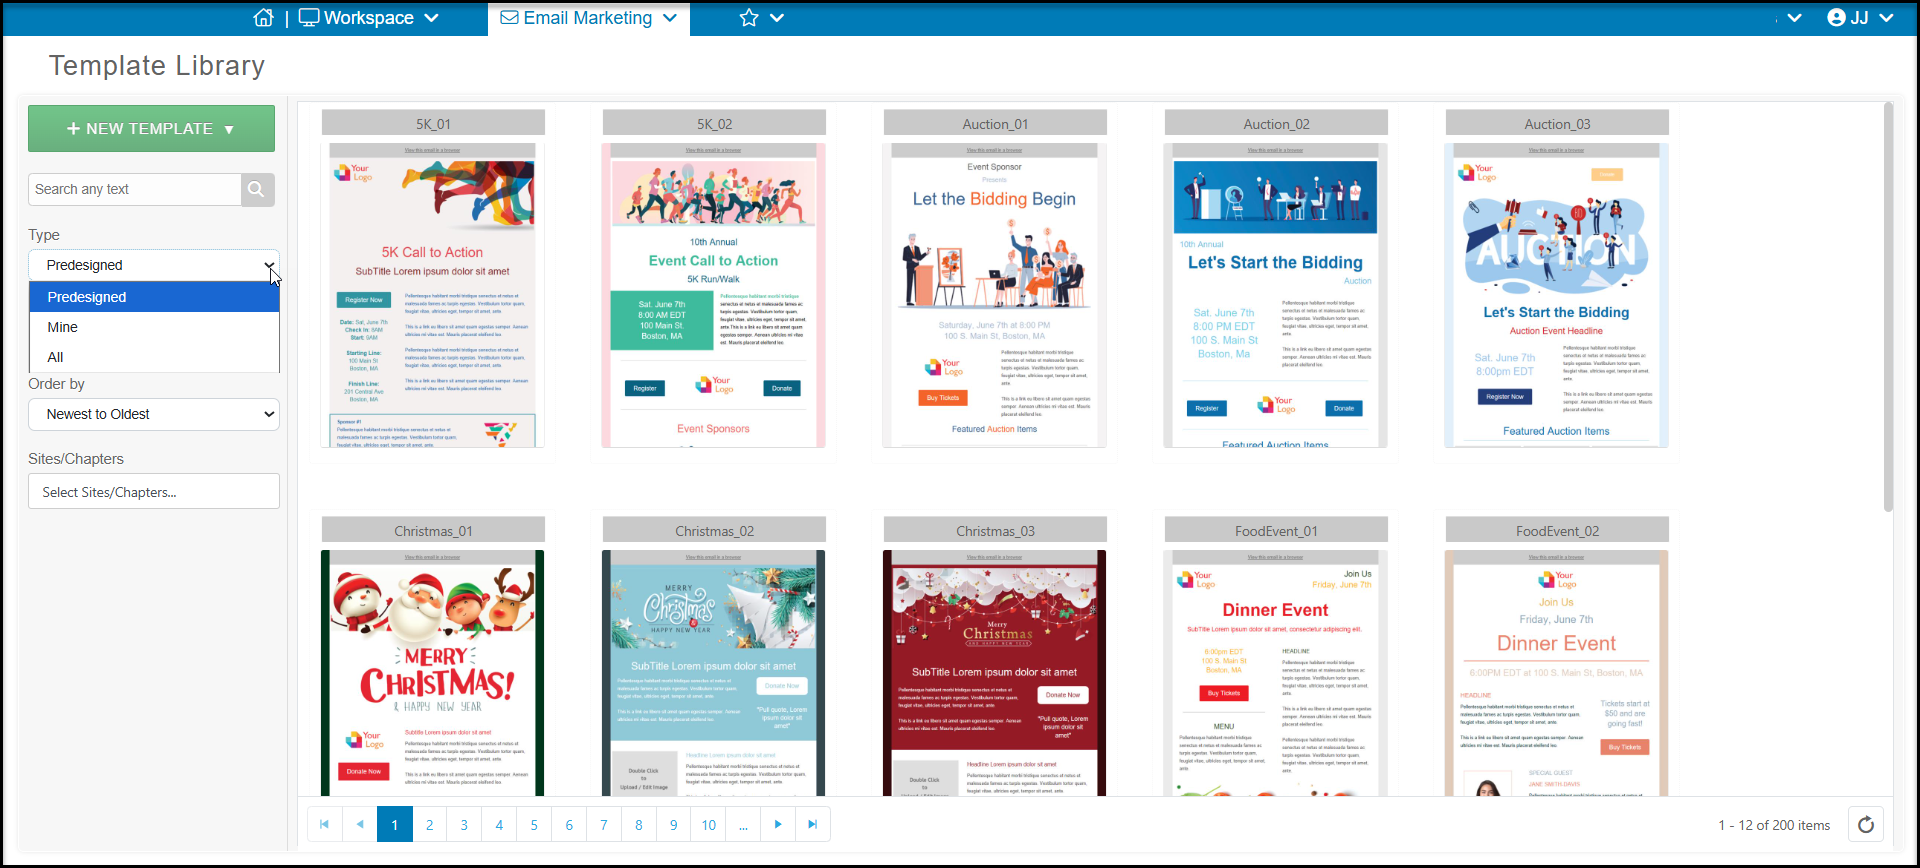
The software comes with 200 predesigned templates you can use by hovering over the template and clicking on Edit.
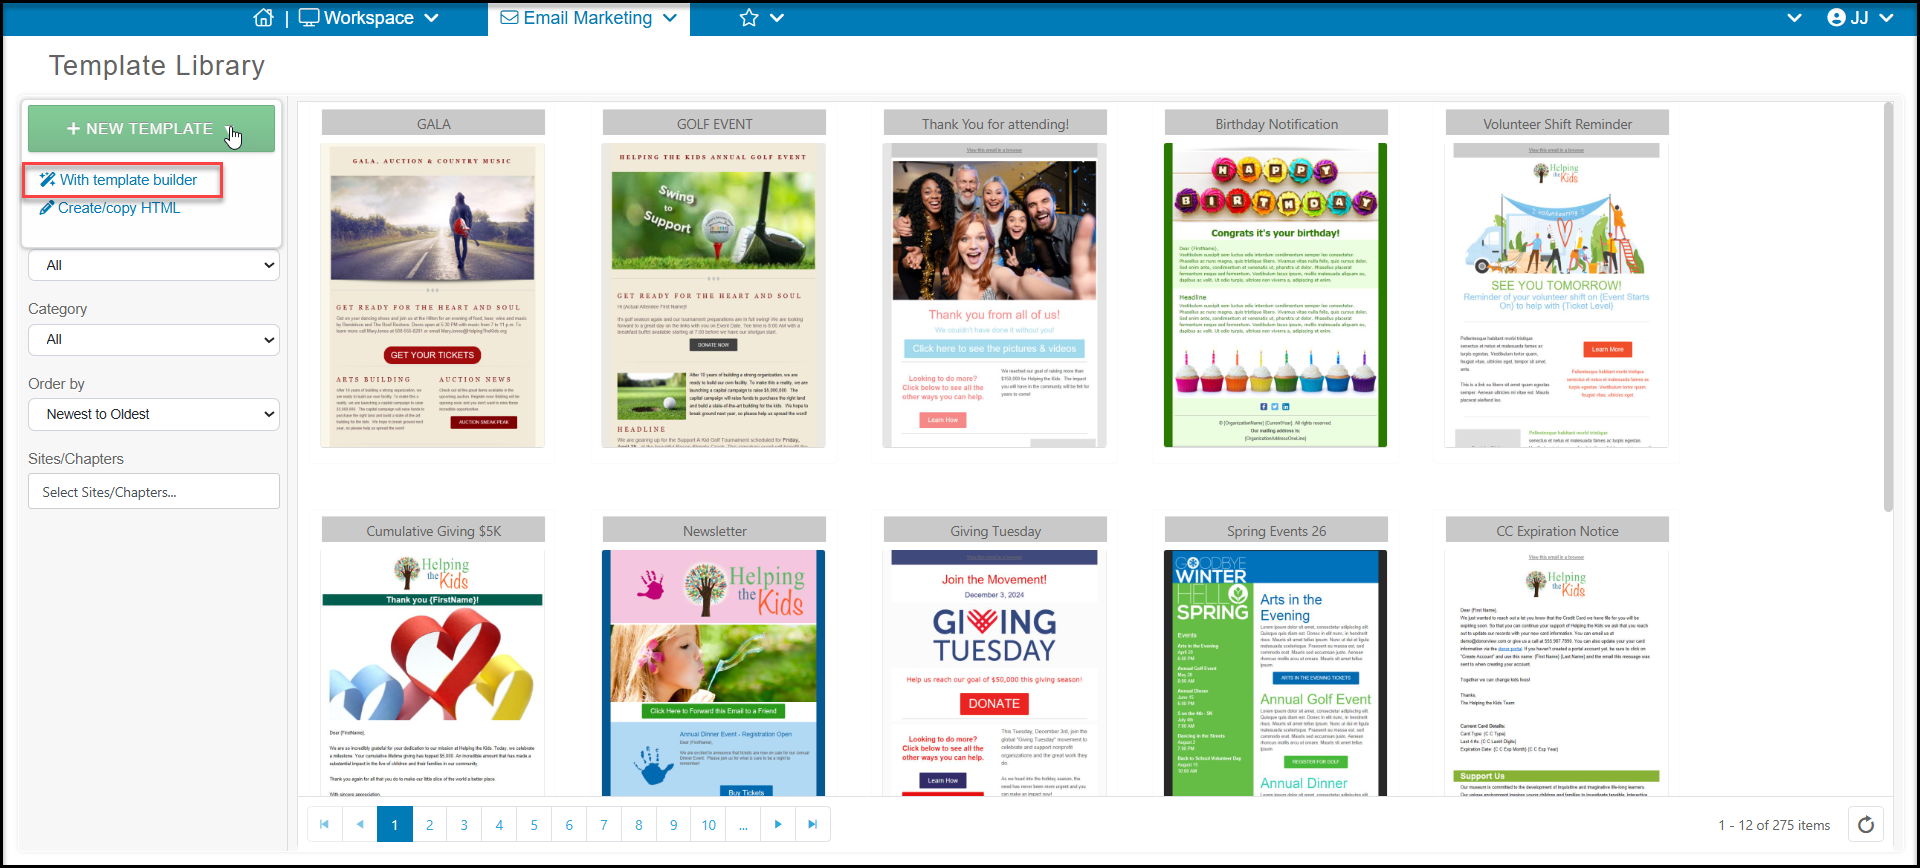
You can also create templates using the +New Template button. Choosing With template builder will open a blank template you can customize. Choosing Create/copy HTML will allow you to create or paste an HTML code into the template builder.
Template Editor Container
When editing a template, you build your message using blocks. The blocks can be divided into multiple columns. Once you've added a block, you can add content into the blocks.
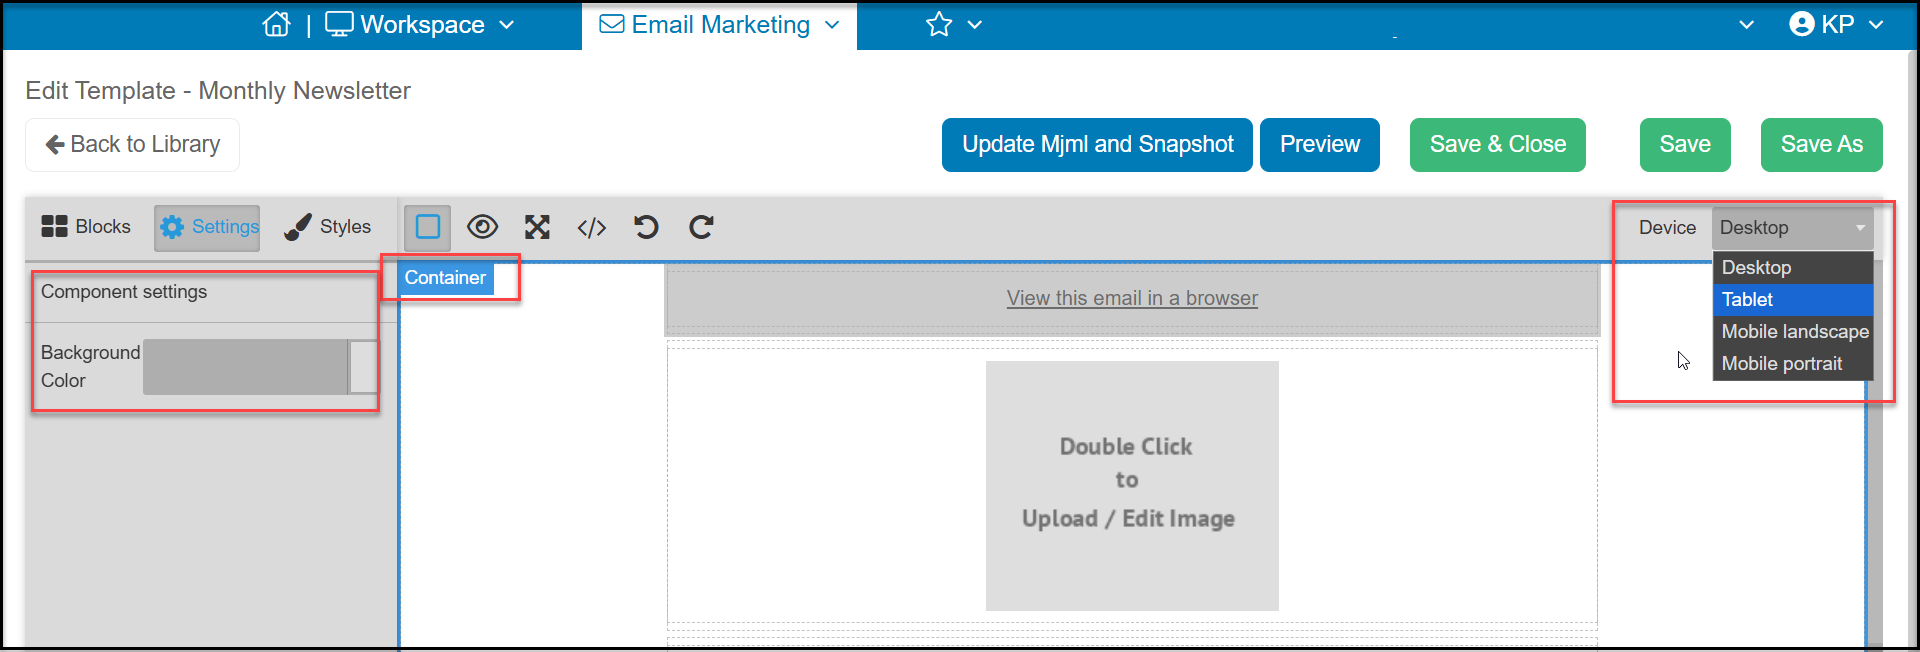
When you have opened the template builder you will see your message inside the Container. The Container is a background for your email and allows you to show the email message in different formats depending on the device used to view the email. On the right side of the container, you can see how your message will appear on a desktop computer, a tablet, and on a mobile phone in landscape or portrait view.
In order for the email to show in all types of email providers, the default setting for your blocks 600 pixels wide, which you can see with the grey dotted lines around the body of the email. The container defaults to white, but if you click anywhere in the container area, you will see an option to modify the background color on the Component settings.
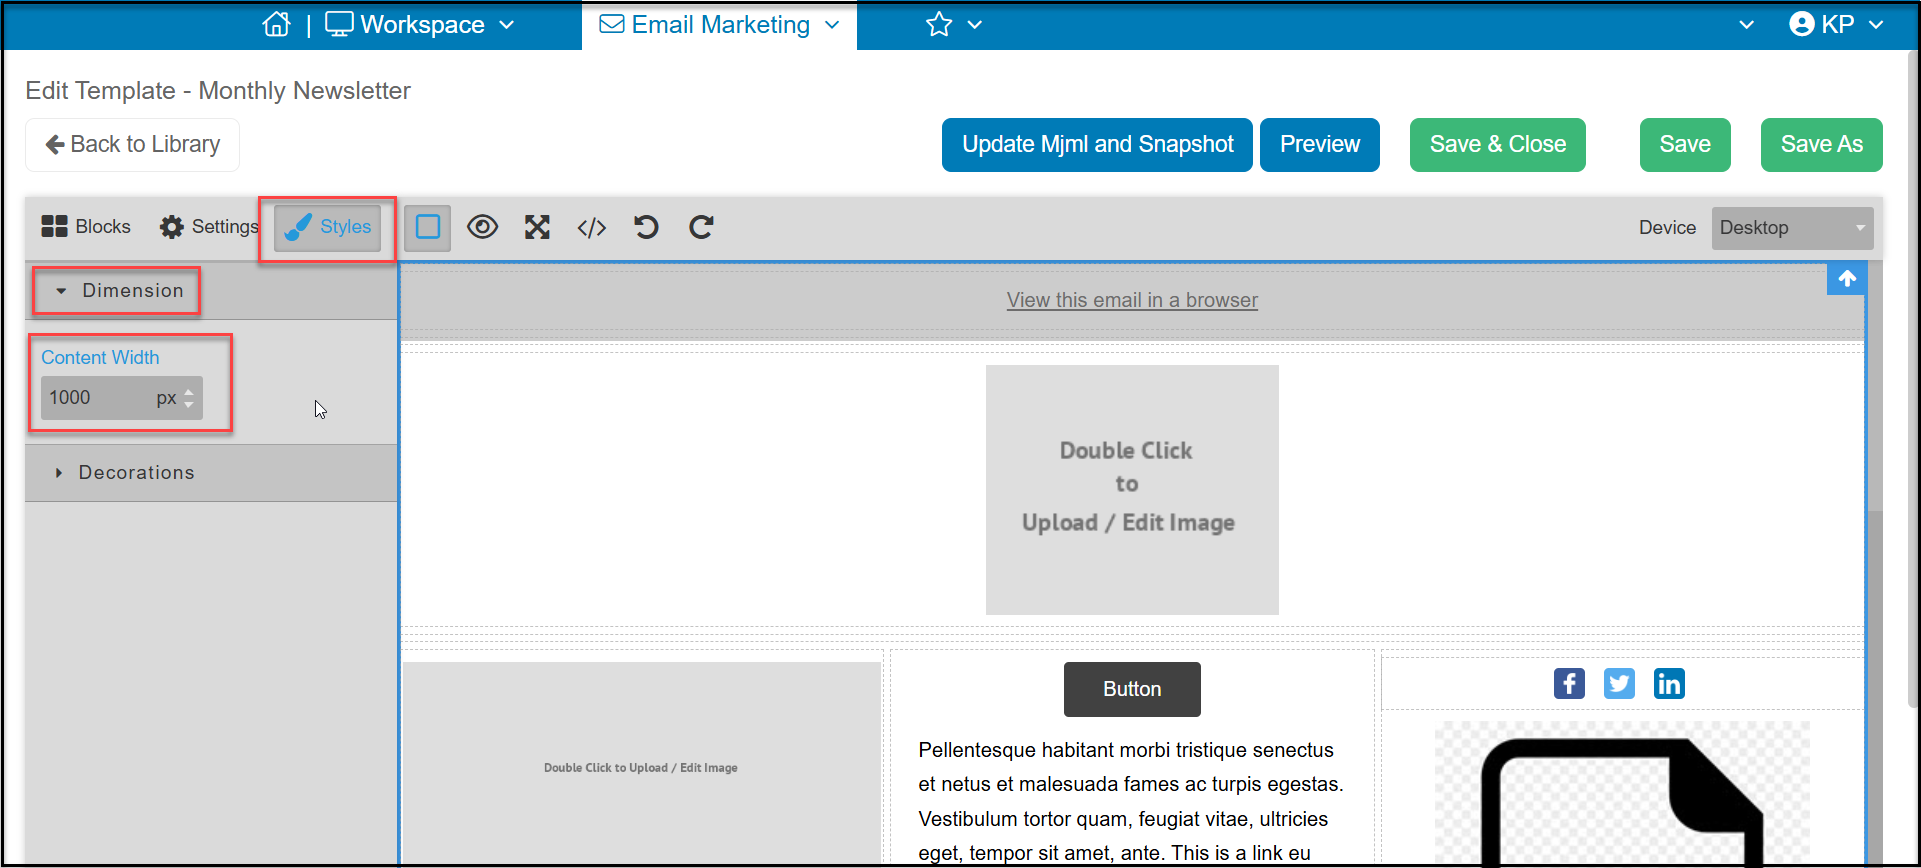
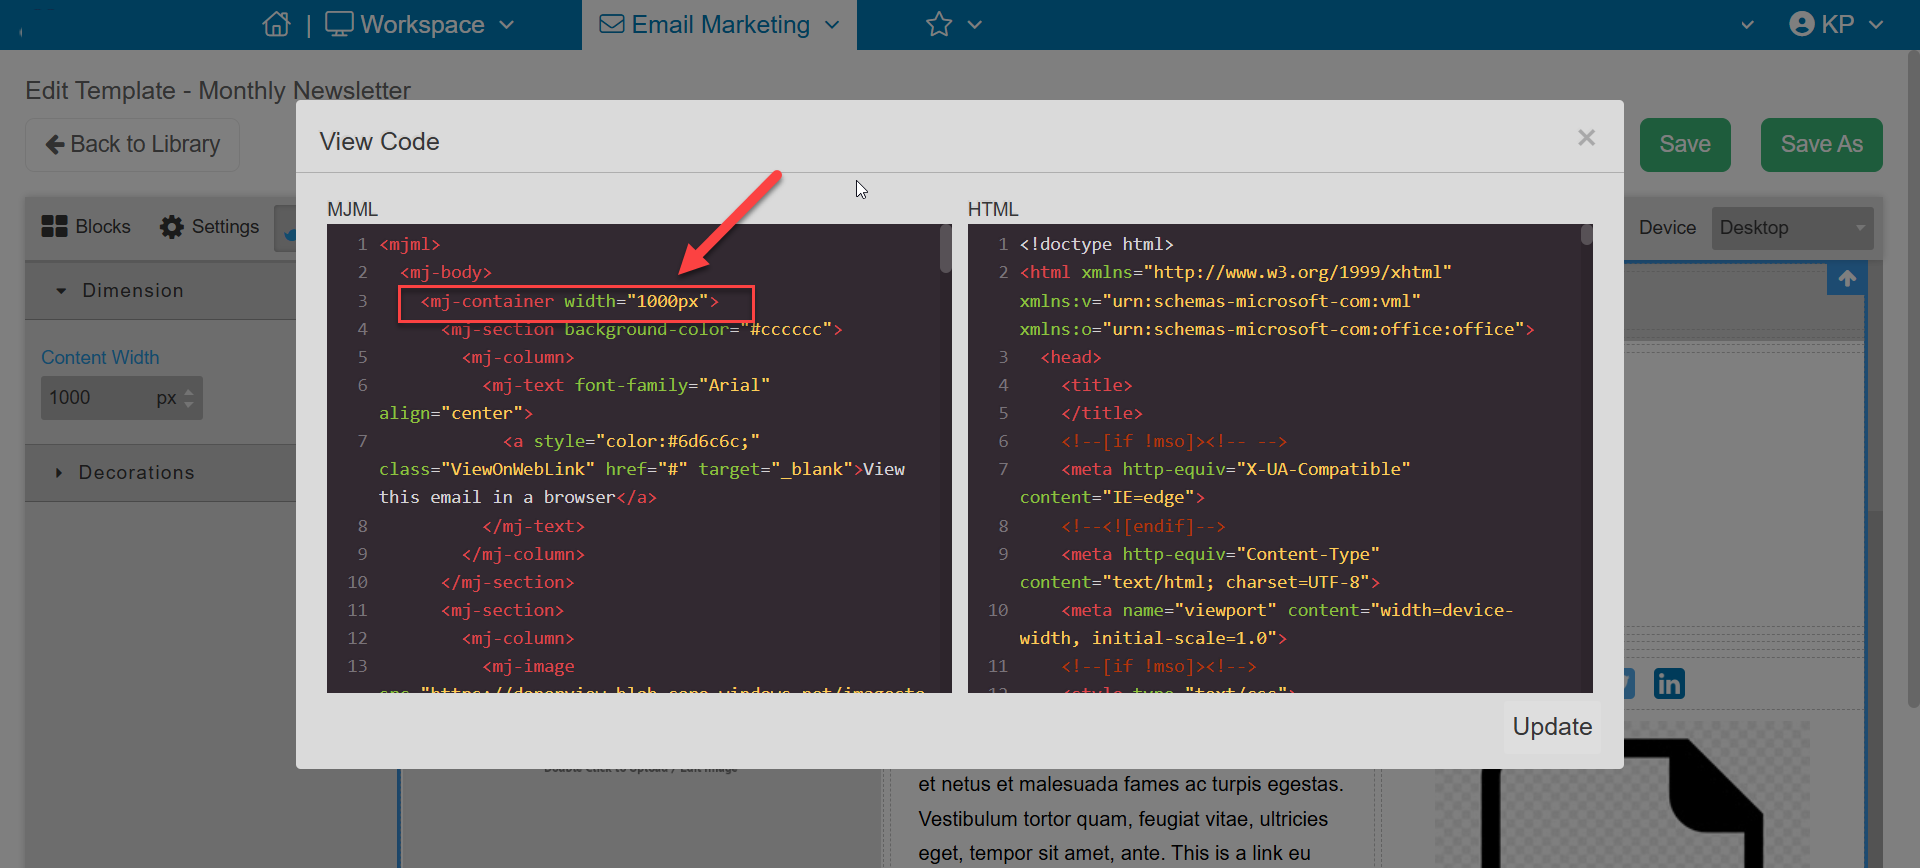
You can edit the content width up to 1200 pixels if desired by clicking on the Style tab while you have the container selected. If you save this change, you will not longer be able to see the container option to select and would need to modify the html code to make a change.
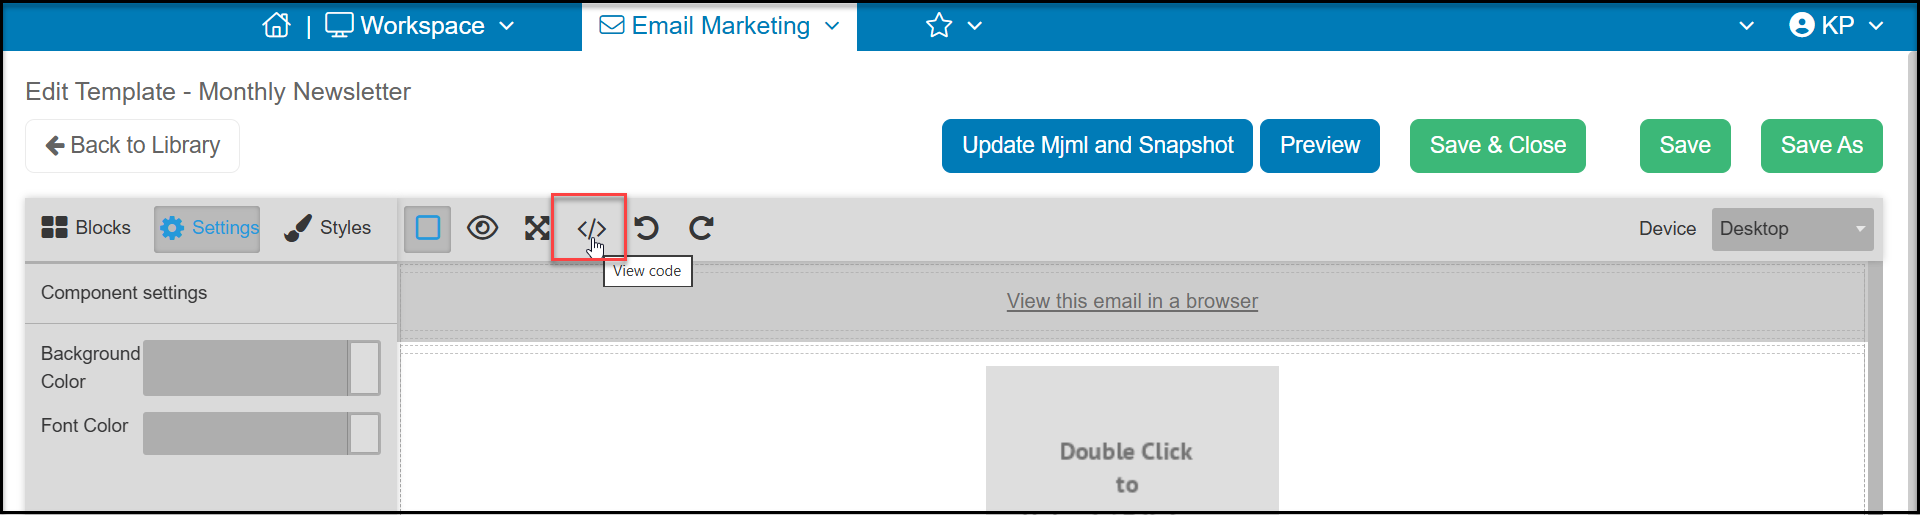
Click on the </> icon from the tools menu to open the html code editor.
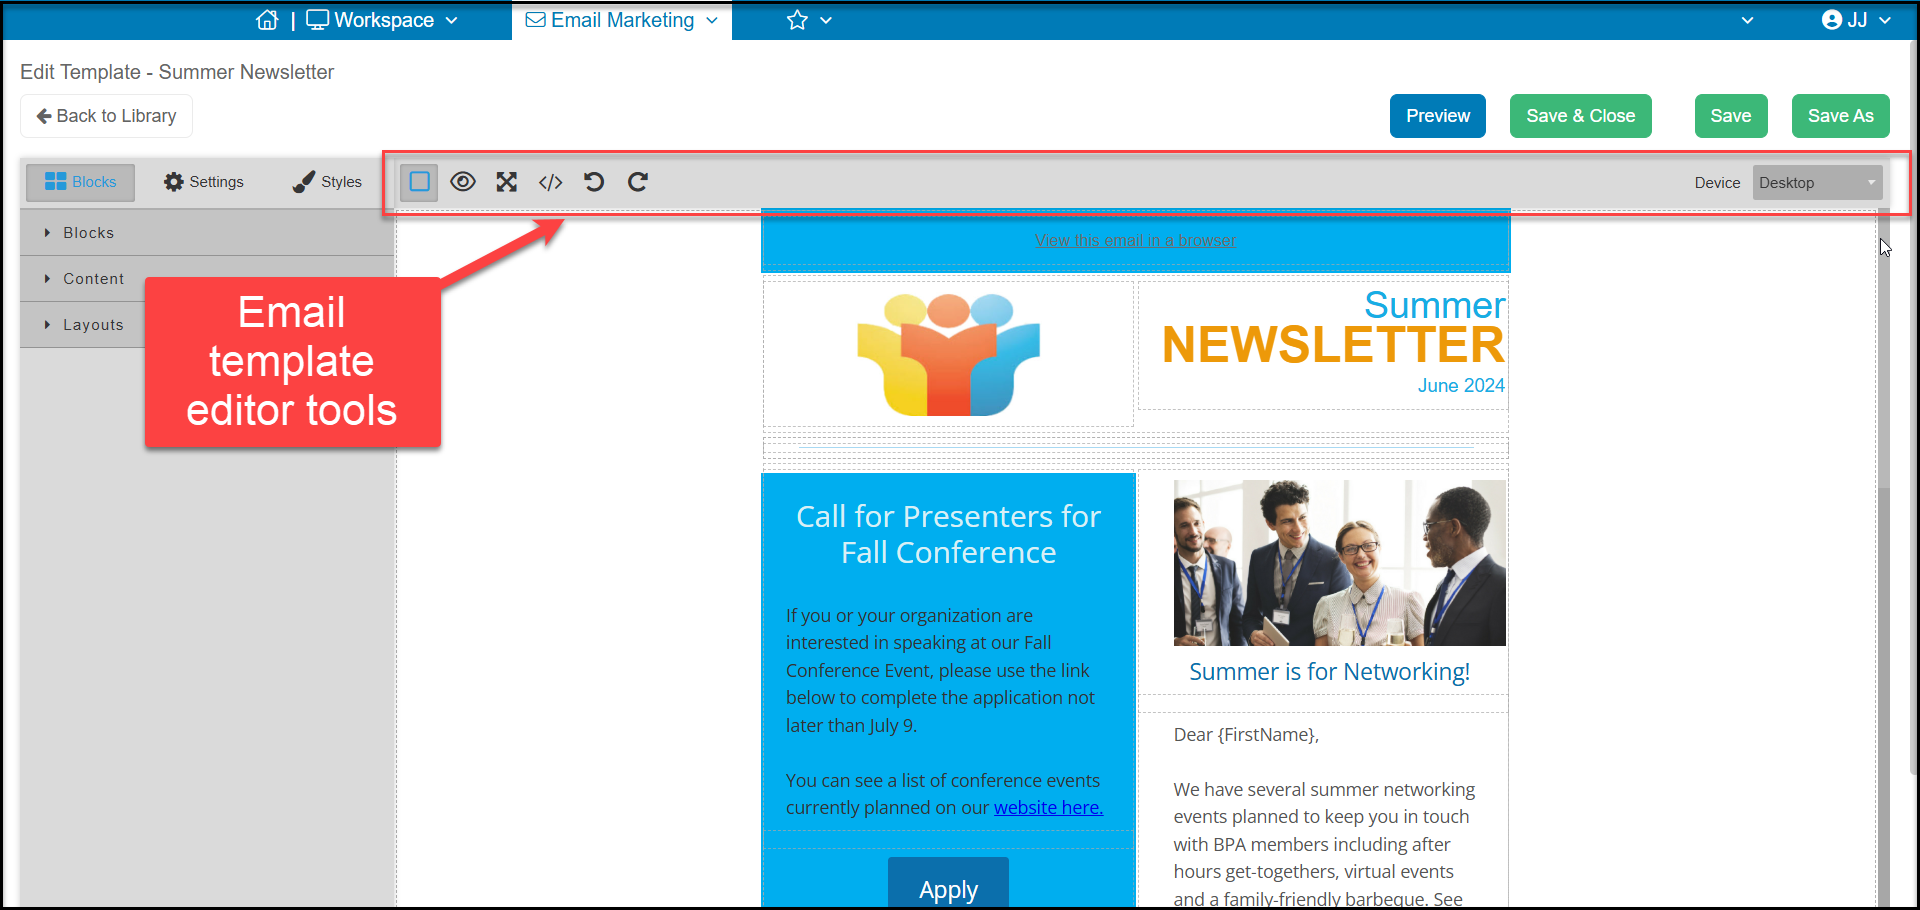
Template Editor Tools
The template editor includes several tools across the top of the page. You can learn more about all these features in the article "What tools are available on the email template editor?"
Template Editor Blocks
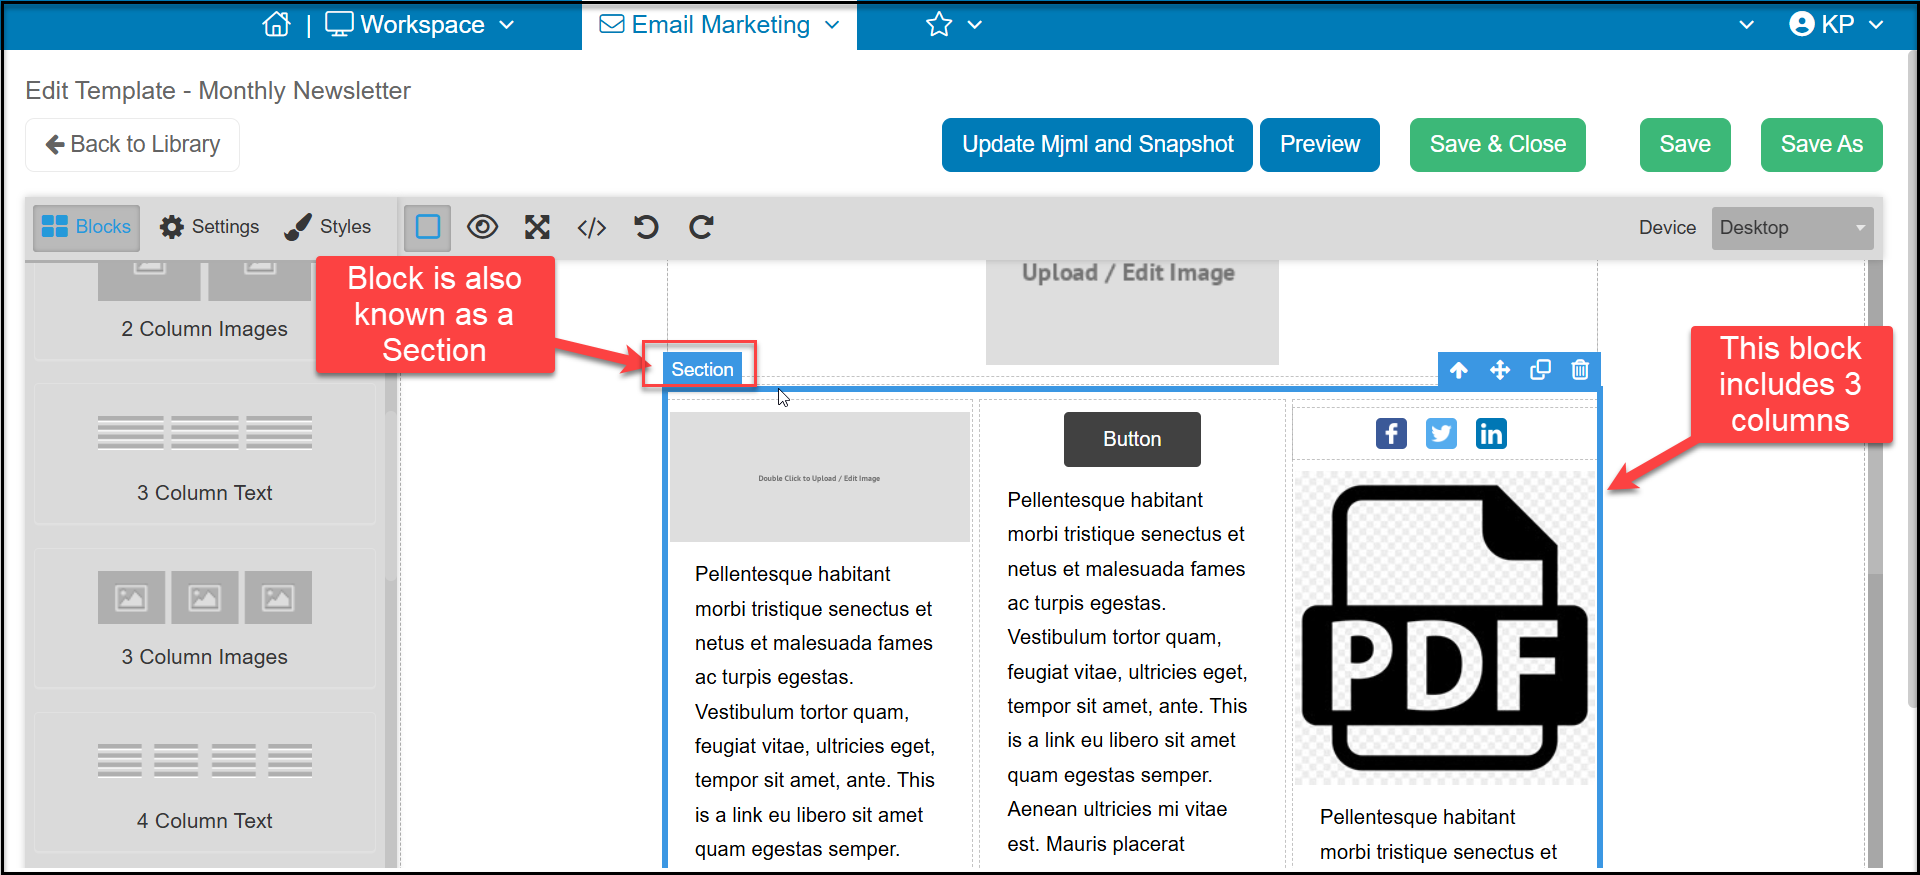
Blocks are also known as Sections for your newsletter. Each section (or block) can have up to 4 columns. In the example below, the section highlighted with the blue box has three columns.
Blocks can include:
- Images
- Text
- A combination of text and images
- Dividers
- PDF file link
- YouTube Video link
Additional content can be added to each column inside the block.
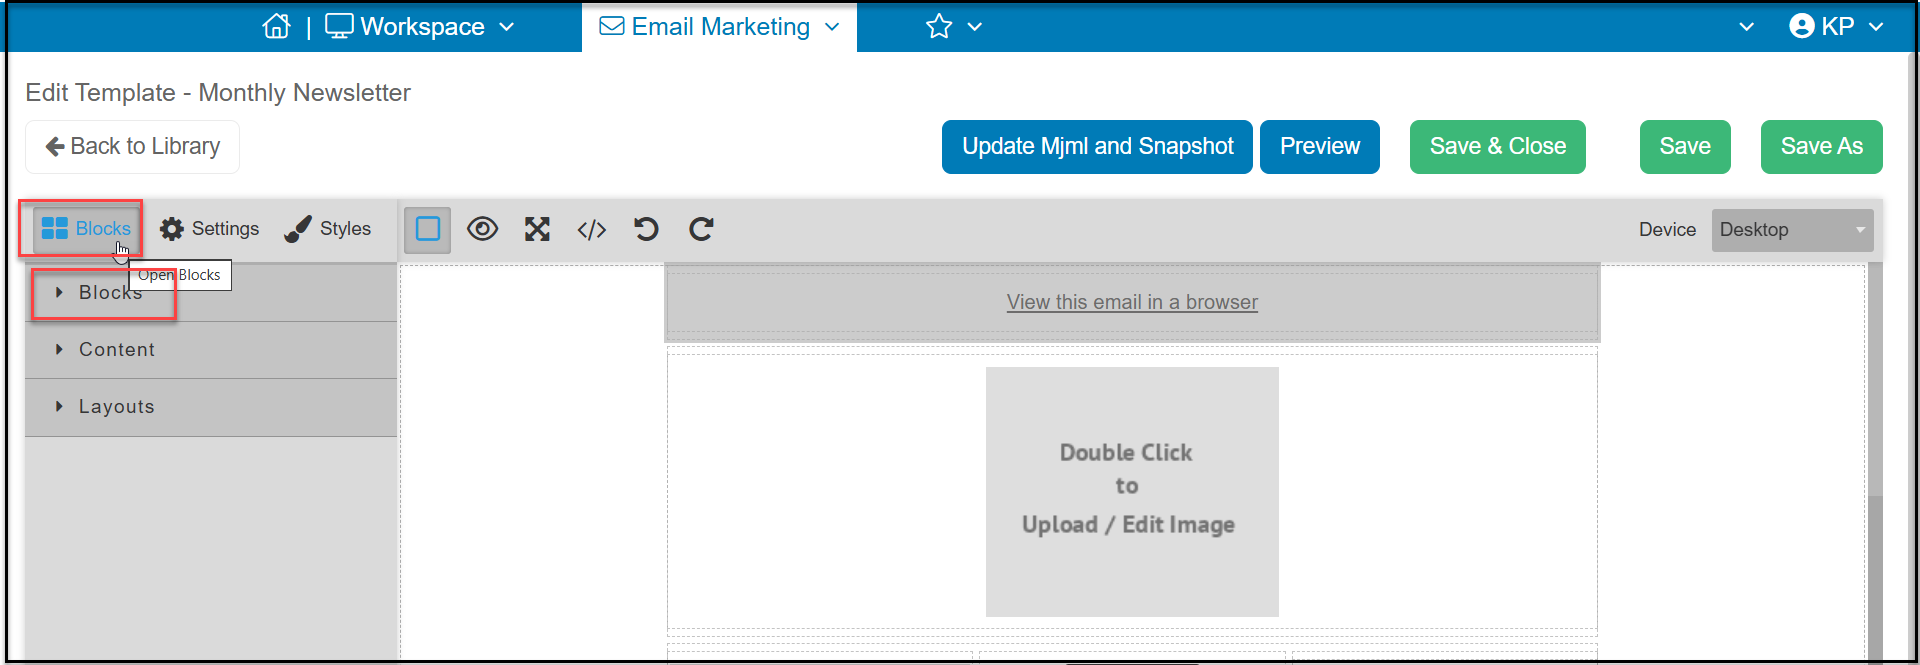
You can add more blocks by clicking on the Blocks tab in the top left corner. Then click on the Blocks menu to reveal the options available.
When you click on one of the options to add to your email, you can drag and drop in into your newsletter. A green line will appear to show where you can place the block. Blocks cannot be placed inside other blocks, they must be inserted above or below and existing block.
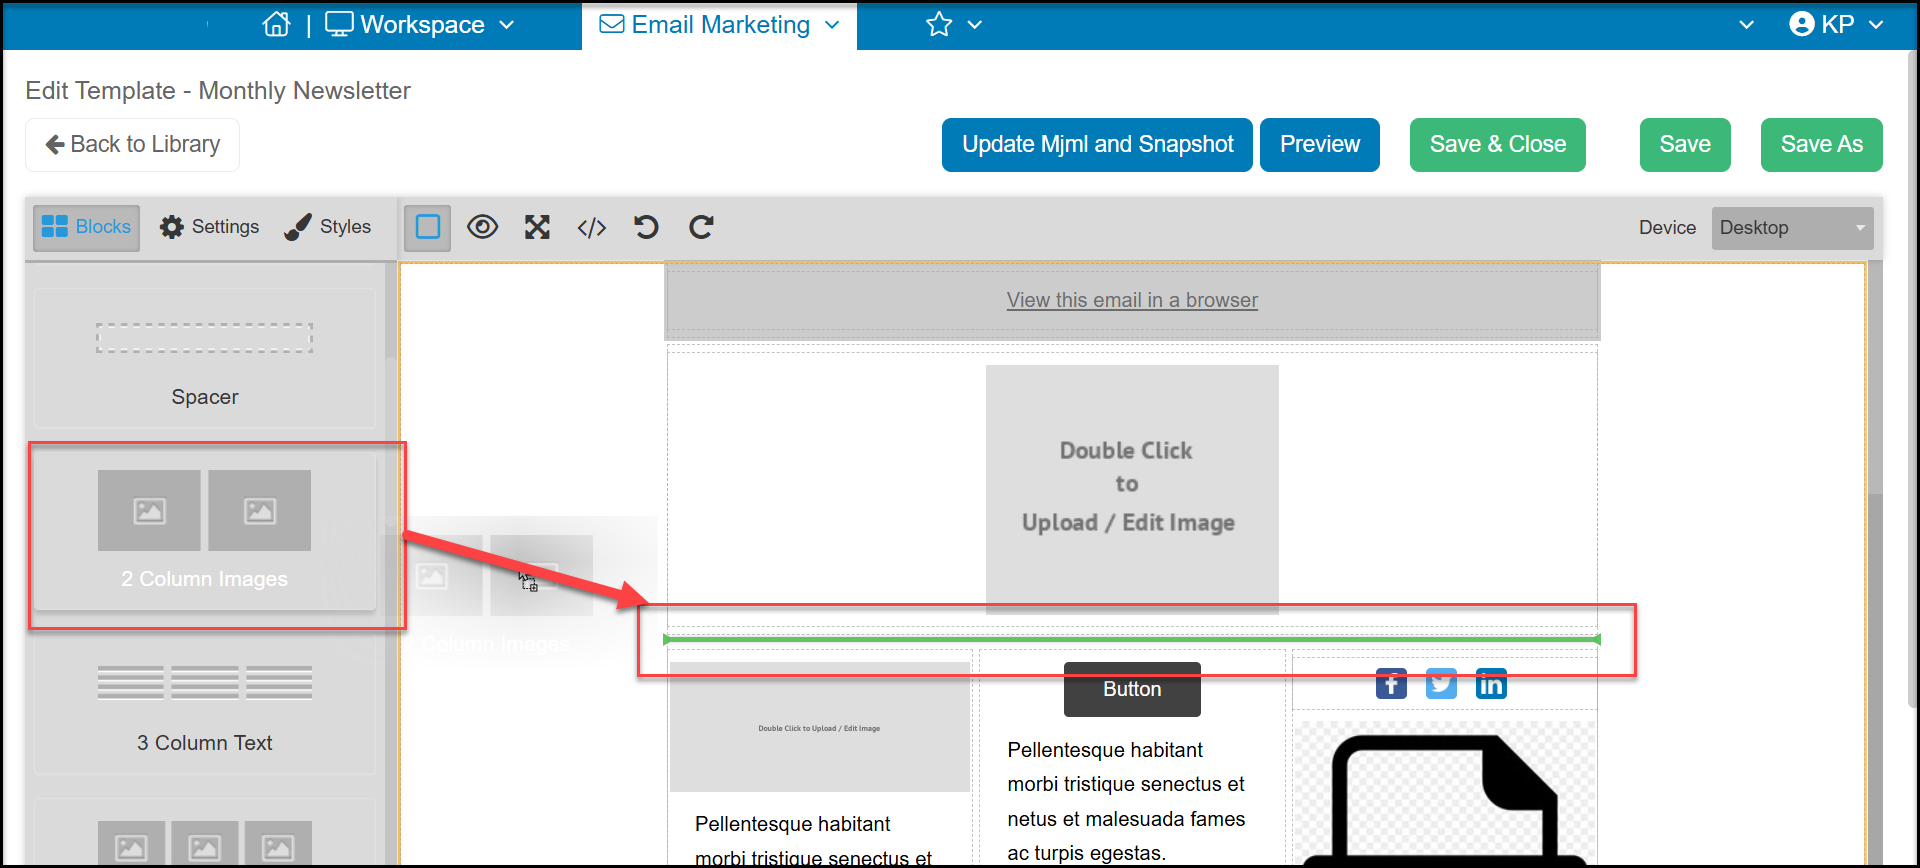
Once a block is added, you can select it to move it using the arrow cross symbol. When moving the block, you will see the green line to show you where the block can be placed. You can also duplicate or delete a block if desired.
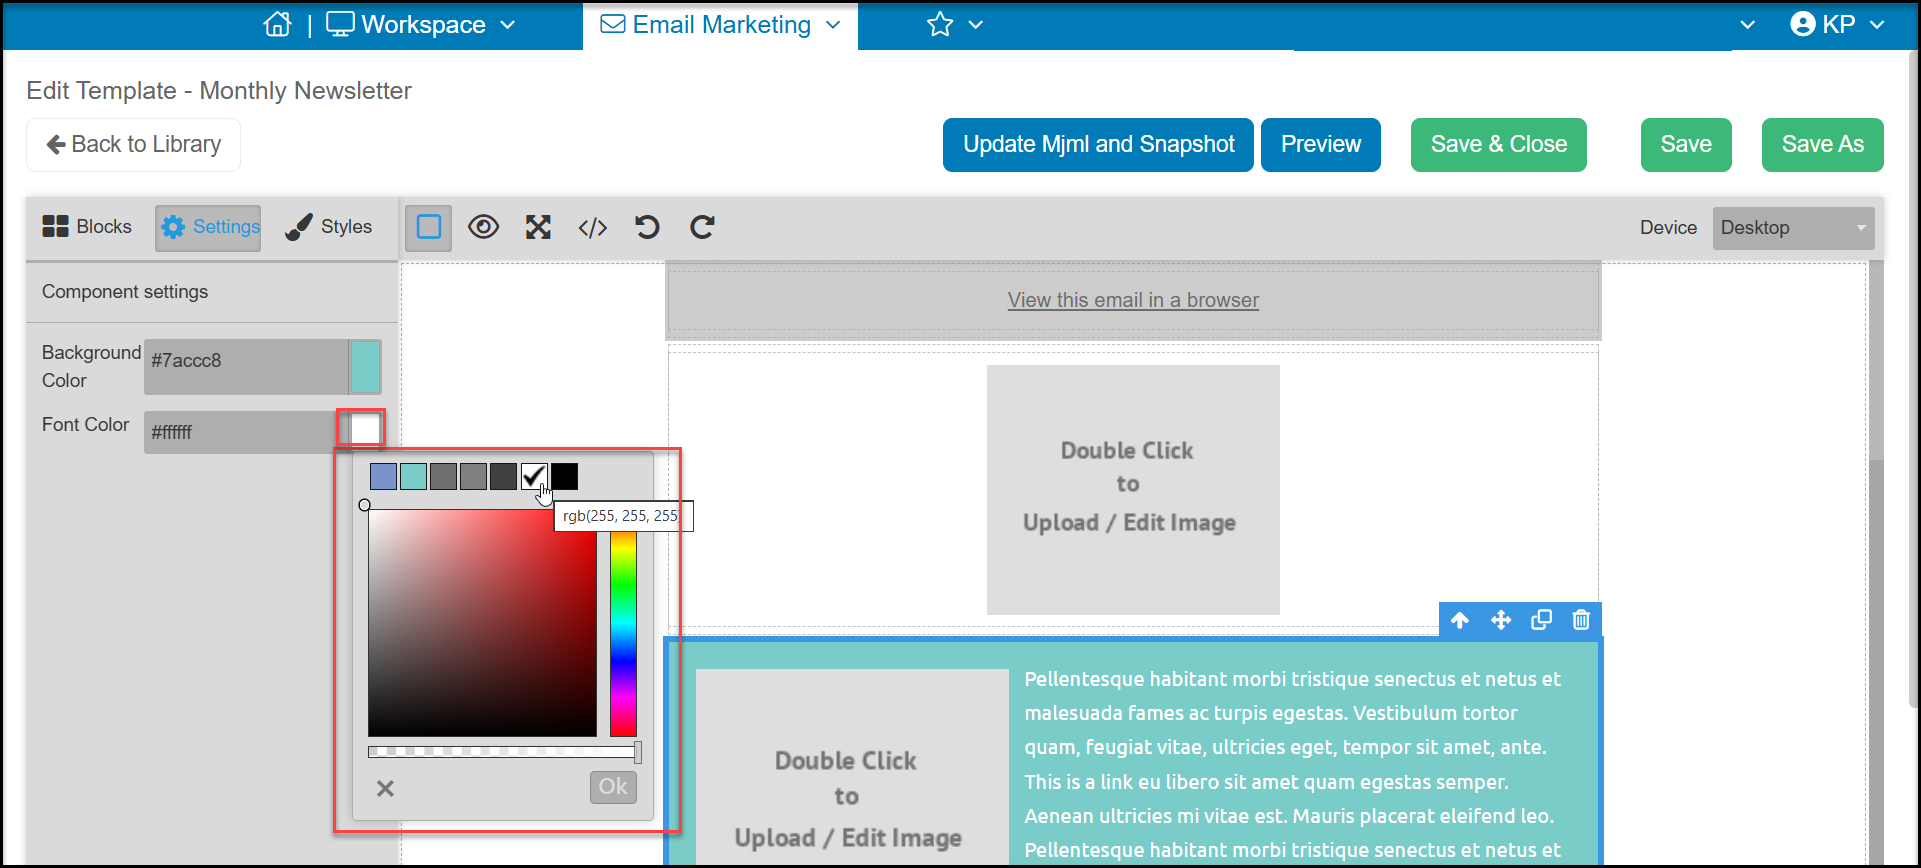
With a block highlighted, you can also modify the settings for that block by changing the background or font color.
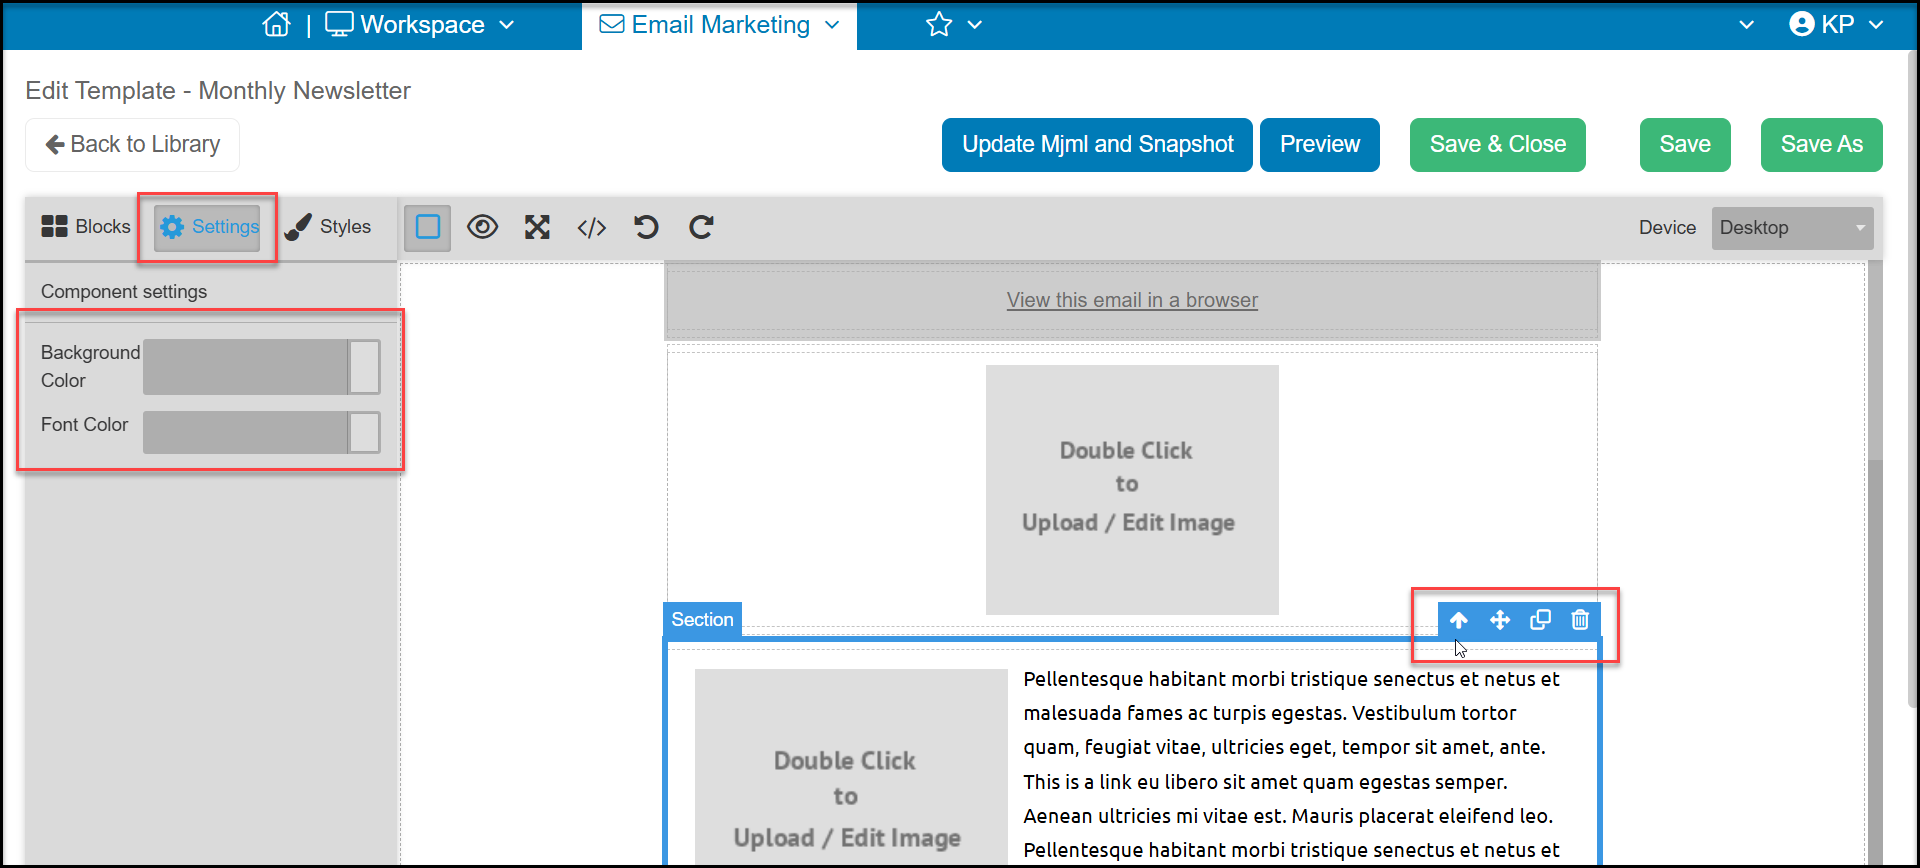
Clicking on the rectangles to the right of Background Color or Font Color will open a color picker where you can choose a color, select a recently selected color and change the opacity with the slider at the bottom of the window. Click OK to save your selection.
Next you will place content inside the blocks. See this article "How do I edit the content inside the blocks in the email template editor?"
Once you have added and edited your content, you can click Save & Close to return the Template Library.