Add-ons are items that can be purchased as part of an event, but add-ons do not include admission to the event. Add-on purchases are shown as a separate transaction on the Events grid and are not shown on the Event Attendance grid. You can set add-ons to be available only for ticket level purchasers or available to anyone. To restrict add-ons to ticket buyers only, on the Event Settings page in the Financial Information section, toggle Require Level Purchases for Add-on Section to YES.

Add-Ons are created on the Event Setup tab within the setup of an Event. Once there you can click on the Add-Ons sub tab and select + Add Add-On.

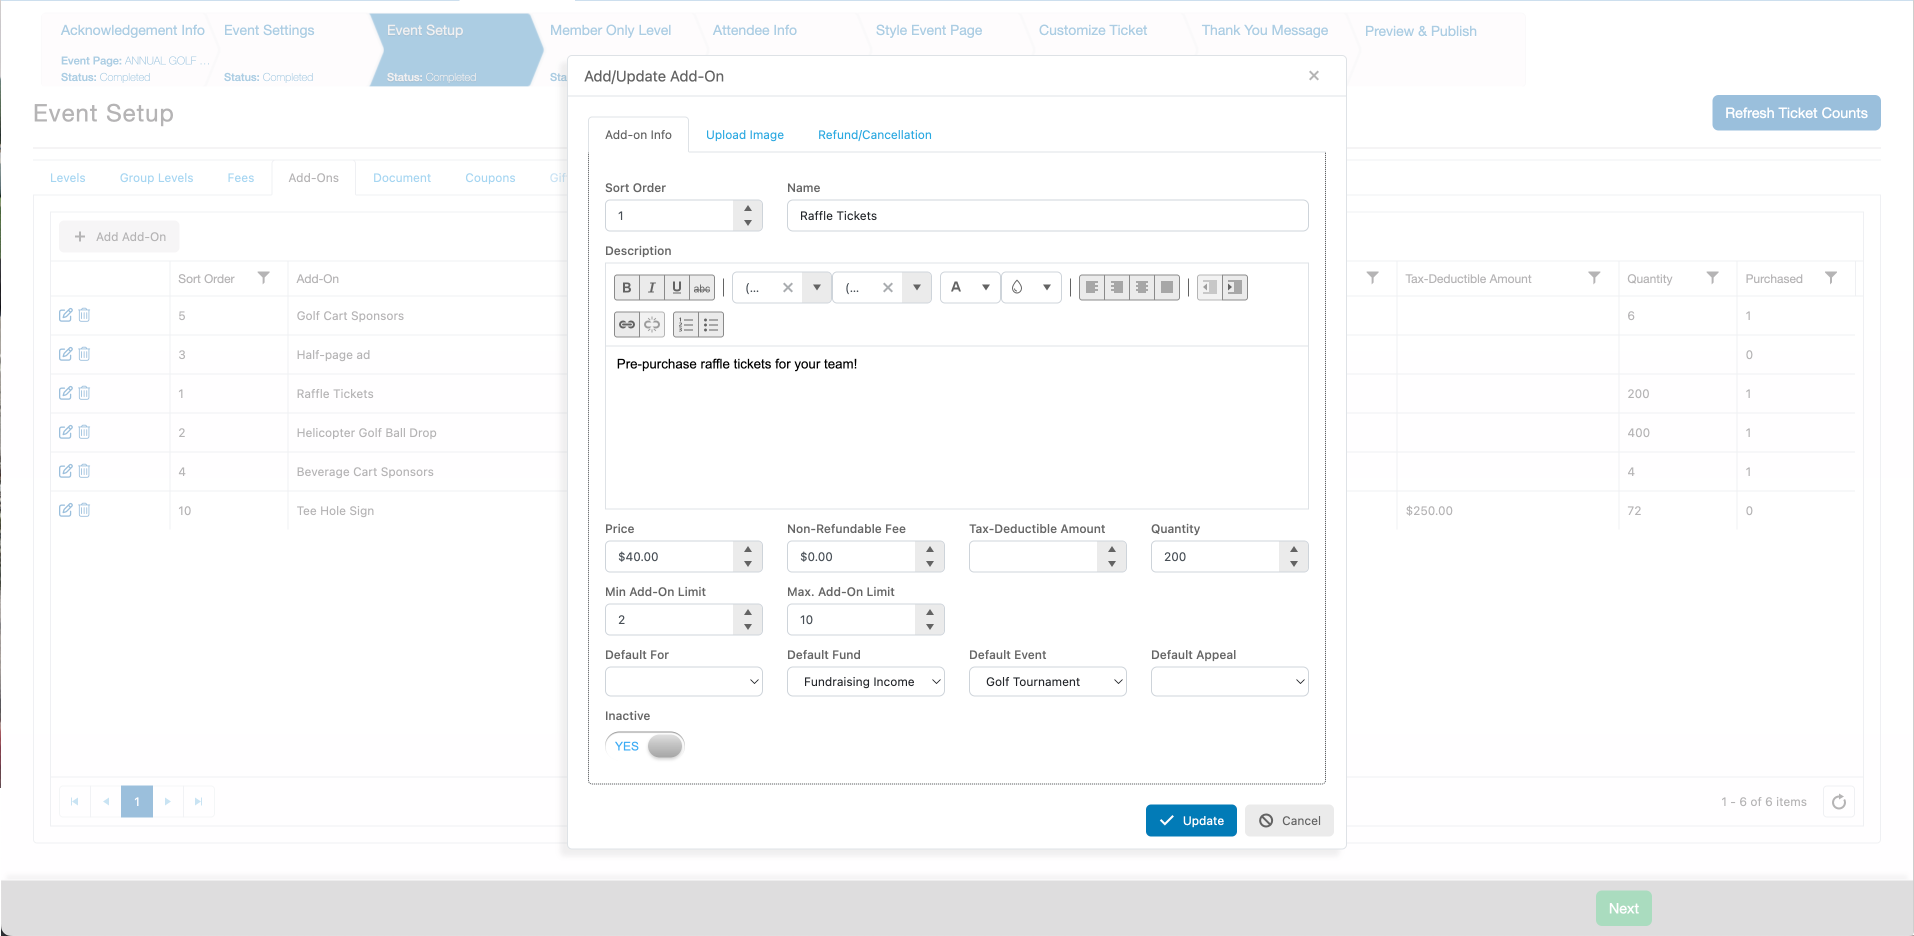
When setting up a new event add-on you have several fields and settings to choose from:
- Sort Order - This allows you to select the order the add-on's appear in on the page, the lower the number the higher it appears. By default the software will assign them as 10, then 20, etc.
- Name - Enter the name of the add-on.
- Description - Provide a description of what is included with their purchase.
- Price - Enter the price of the add-on.
- Non-Refundable Fee - Enter the amount that will not be refunded if the purchaser requests a refund.
- Tax Deductible Amount - If any part of the purchase is tax-deductible, you can enter it here.
- Quantity - How many of this item are available. Once this number of add-ons have been sold, it will be shown as Sold Out on the event page.
- Min Add-On Limit– Enter the minimum amount of this add-on that must be selected to register/purchase it. Note if the remaining quantity of the add-on is below the minimum quantity set then the add-on will display on the online Event form.
Max. Add-On Limit – Enter the maximum amount of this add-on that can be selected during a registration/purchase. This limit will stop the registrant from exceeding that maximum amount during a single transaction.
- Default For-Fund-Event-Appeal - If this add-on has different For-Fund-Event-Appeal selections than the default values on the Event Settings page, you can select those that apply to this add-on.
- Inactive - When set to YES, this add-on will not be visible on the event page.
If you are using the tile view on the event page, you can upload an image to display with the add-on using the Upload Image tab. Click on Select files... to choose the image. The image size shown on the page 200 px wide x 125 px high.
