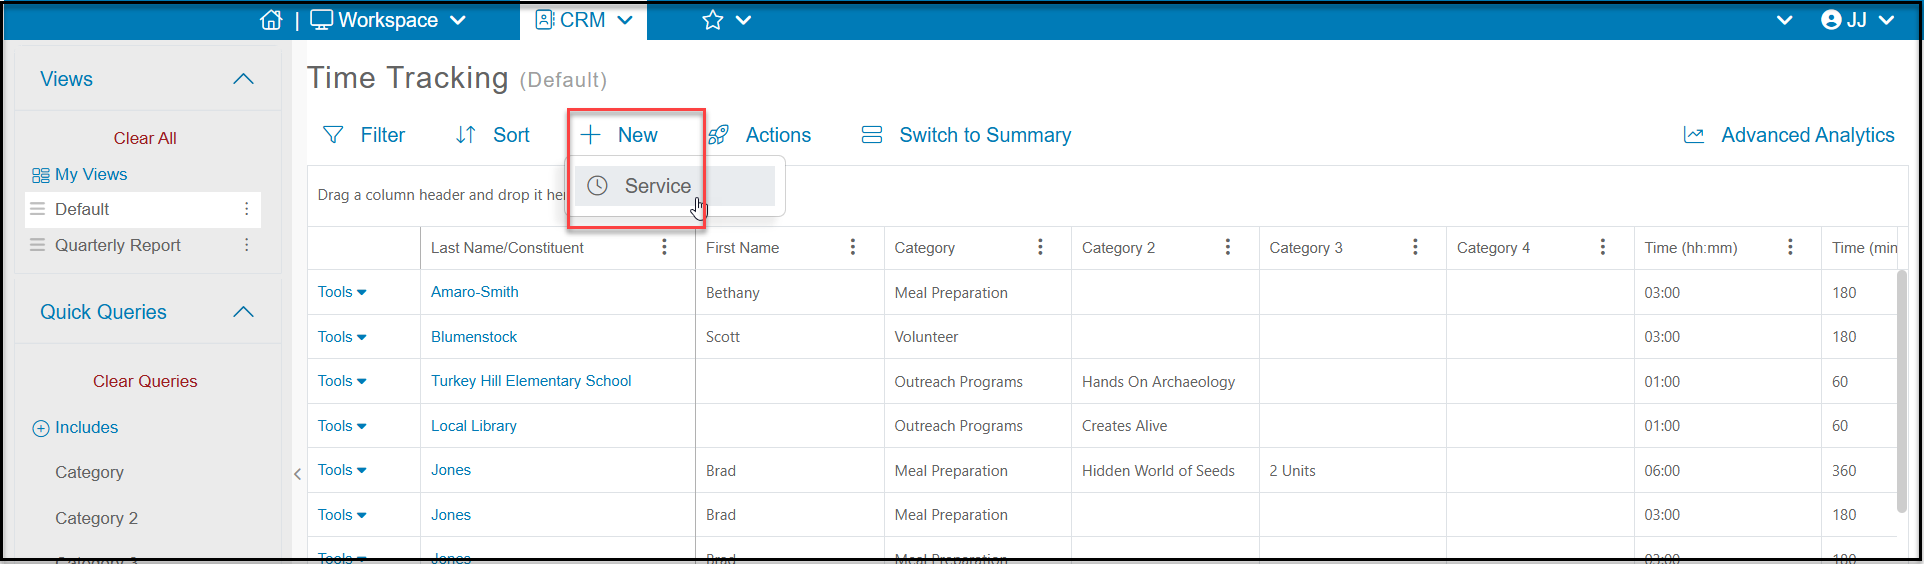
Either on the Time Tracking tab of a constituent's record or on the main Time Tracking dashboard you will find a green “Add Service” button. Clicking on this Button will open a dialog window to enter your Time Tracking record. If you are entering a new record from the Time Tracking grid, you will be required to select the name of the constituent for the record.
Then you can enter the start and end time and date of their service. For the entry of Date and Time you have two options Calculate Time or Enter Time.
The Calculate Time option allows you to enter in both the Date/Time From and Date/Time To which will cause the Hours and Minutes fields to automatically calculate based on those inputs.
The Enter Time option will allow you to input your own Hours and Minutes and then enter a Date From and optional Date To.
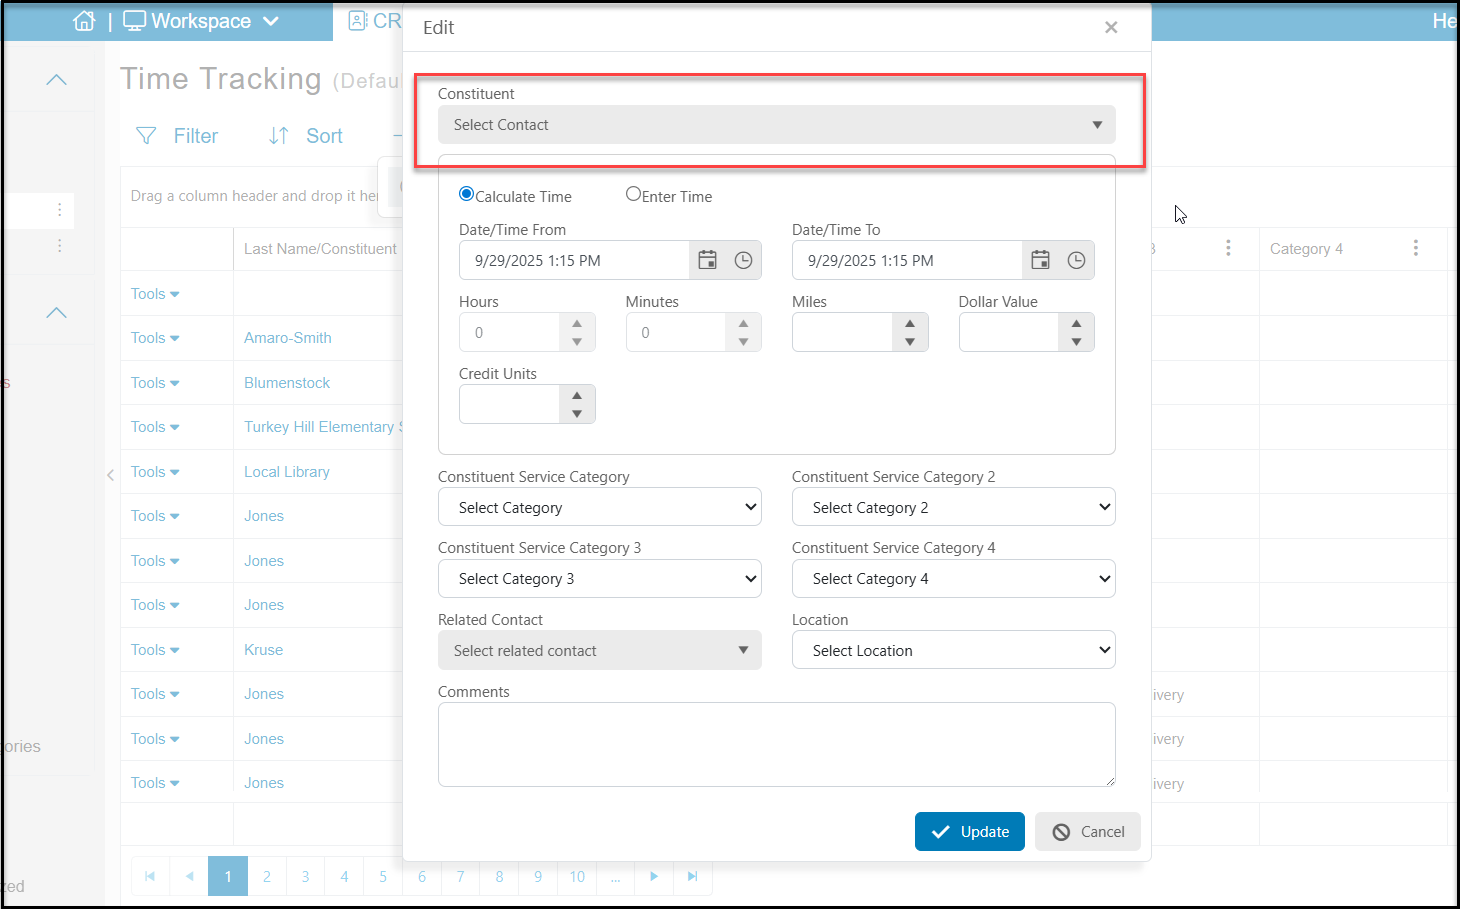
Beyond the Dates and Time you can also enter in values for the following fields:
Miles - Enter how many miles were traveled as a part of this time tracking record.
Dollar Value - What is the estimated value of the services provided.
Credit Unit - You can use this field to enter CEU credits or other measurements as desired. Be sure to communicate with your team how you plan to use the Credit Unit field so that everyone uses it consistently.
Constituent Service Category (2, 3, and 4) - Create and select values that will add details to your time tracking record about the kinds of services provided. These service categories are all independent, so you can use them in any combination desired. Each dropdown list can be edited with the <New/Edit> option at the top of the lists.
Related Contact - Select a constituent who has a relationship with the the constituent you are entering this time tracking record for. Making a related contact selection will create a copy of the this time tracking record in the Related Contact constituent record.
Location - Create and choose locations to assign this time tracking record.
Comments - Input additional details about the this time tracking record.
Click the Update button to save the time tracking record.