Yes. For any event that is generating tickets each registrant receives an email after submitting their transaction which contains a PDF attachment of their event tickets. While setting up your event you can choose to create customized tickets and edit the subject line and body text of that specific email.
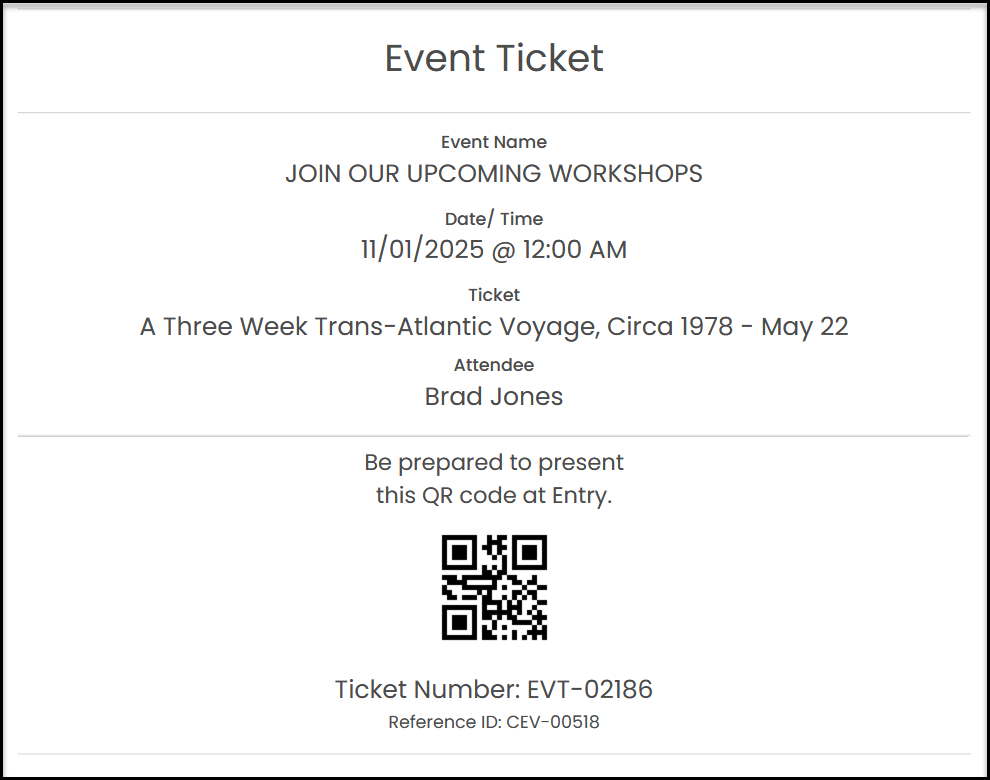
Within the setup of your Event go to the Event Settings tab and scroll down to the “Ticketing” section. With the “Ticket Event” setting toggled to YES you can set Use Customized Tickets to YES if you wish to customize the ticket the purchaser will receive. Setting this to YES will add another tab to your event page wizard. Customized tickets are optional. The software will generate a standard ticket as shown below and send them as a pdf file, one page per ticket level purchased. Tickets are sized to be printed one per page on a 81/2" x 11" sheet of paper.
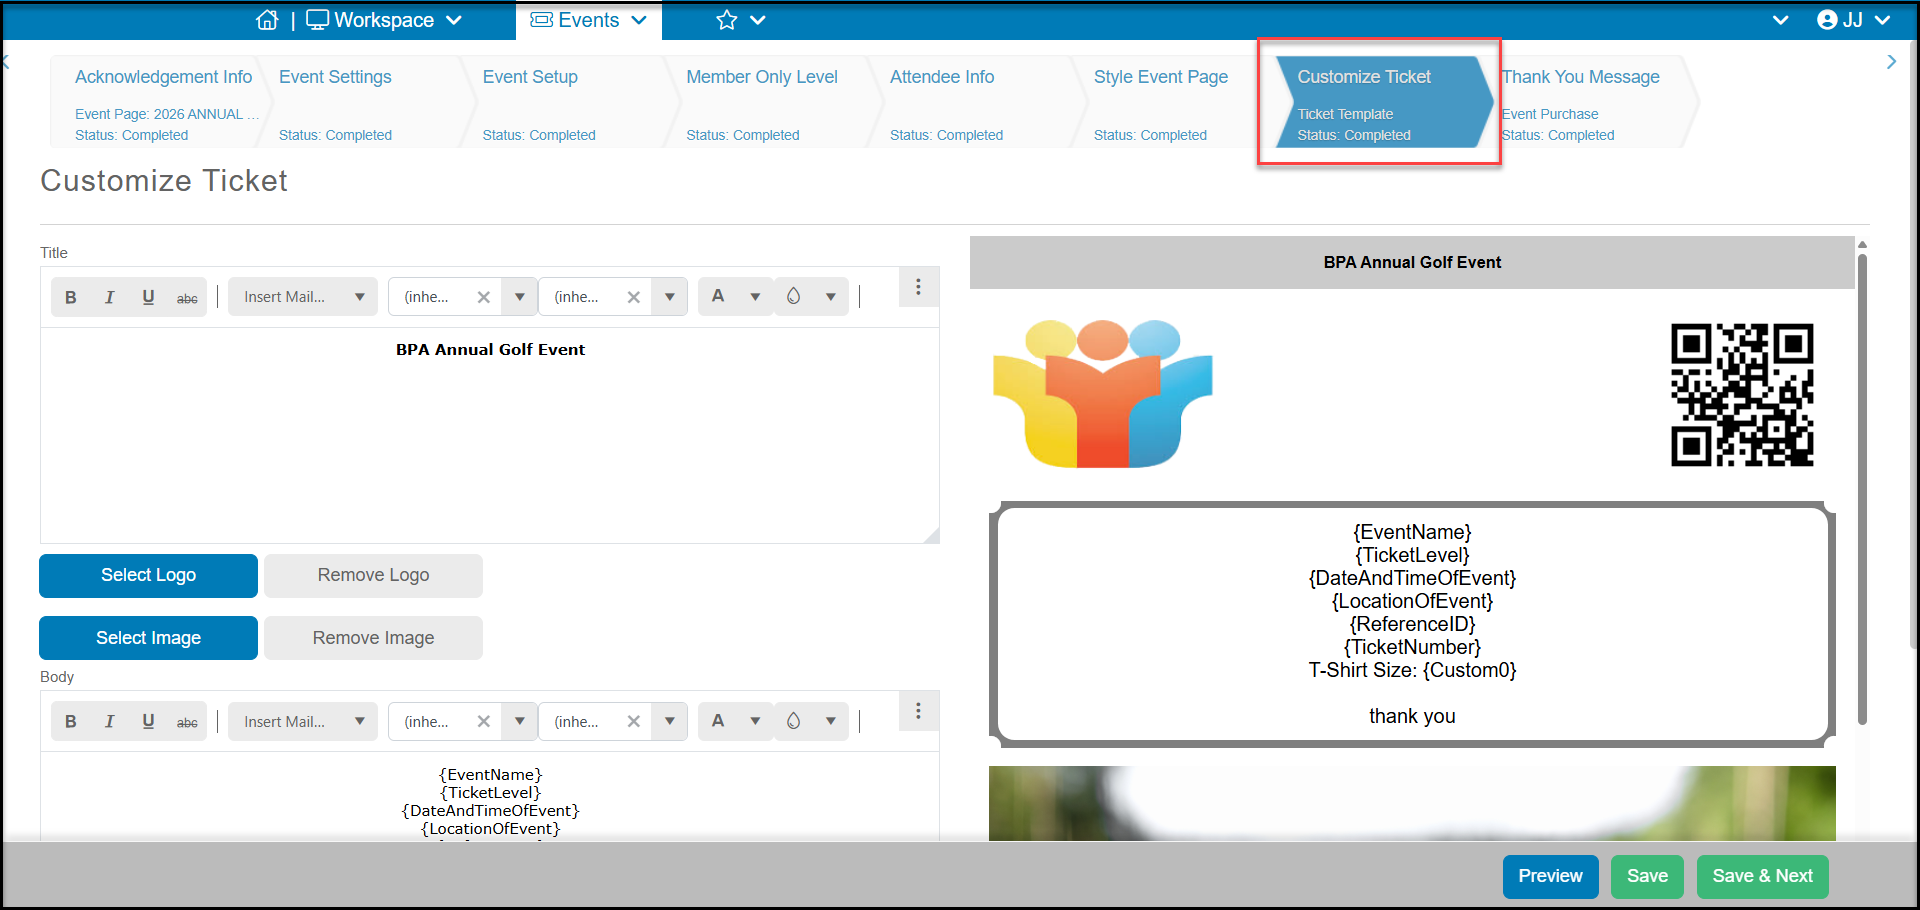
With Use Customized Tickets set to YES, the new tab Customize Ticket will appear. These tickets will also be produced one per ticket level purchased and be printable on an 8 1/2" x 11" sheet of paper. On this page you can:
- Add a Title to the top of the page and customize the font, colors, and Insert Merge Fields.
- Clicking on Select Logo will open your media library and allow you to upload or choose an existing image to insert at the top of ticket. You can also click Remove Logo if you wish to remove or replace it.
- The QR code is automatically created by the software and is used if you wish to scan the code to check in attendees for your event. The QR code is linked to the ticket number only.
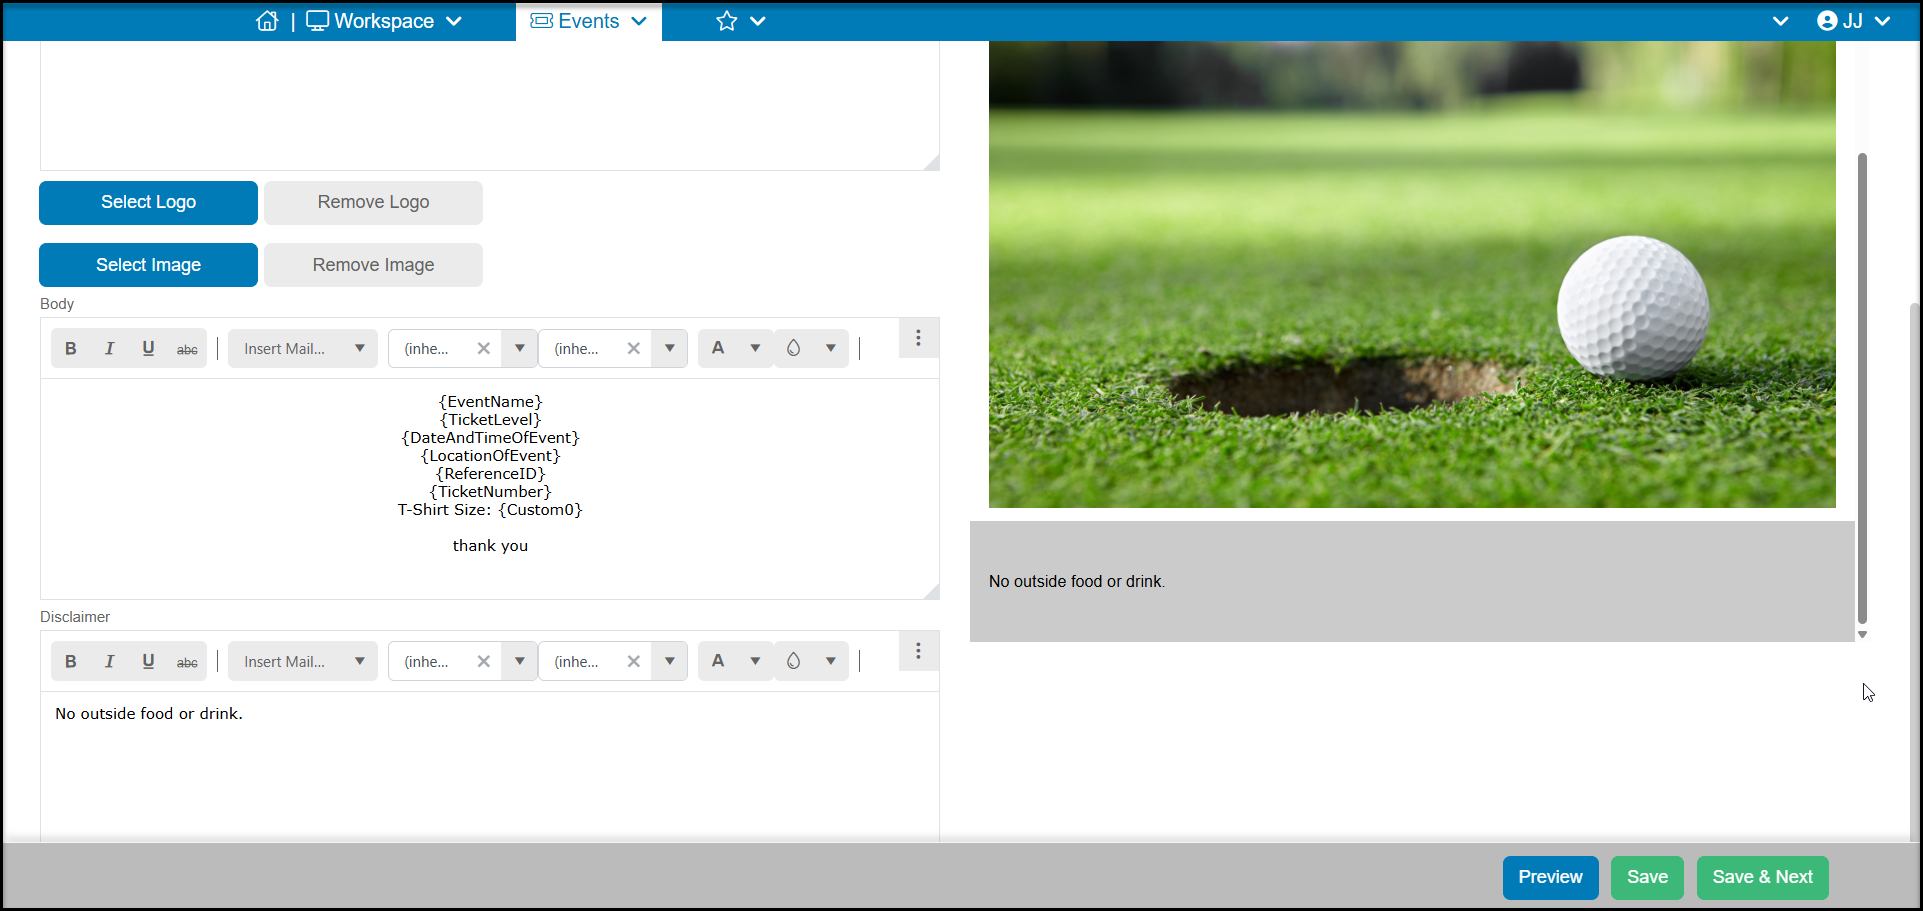
- You can also click on Select Image to add an image to the body of the page.
- In the Body, the software defaults to include merge fields for the Event Name, Ticket Level, Date and Time of the Event, Location, and Ticket Number. You can also customize the fonts and colors and Insert Merge Fields to include other merge fields like the attendee name or answers to custom questions you created in the Attendee Info tab.
- At the bottom of the page is the Disclaimer section where you can customize the footer shown on your ticket.
- Click Save or Save & Next to save your changes.
A custom ticket will print as shown below.

On the Event Settings tab, you will also find the “Customize Ticket Email Message” setting. Turning this setting to YES will reveal two new text boxes. The first text box will allow you to customize the subject line of the email under Ticket Email Message Title. The second larger text box will allow you to customer the body text. Along with the text you can also insert Mail Merge fields related to the event transaction as well as edit the format and styling of your text.
