You will begin by creating your survey or poll from the Survey/Forms Lists page using the +New option, making a copy of an existing survey using Actions menu, or selecting a survey/form from the library to copy.

Once you create your new survey, it will be completed using a similar step-by-step process used for other pages. A basic survey that will not be distributed via email includes the steps:
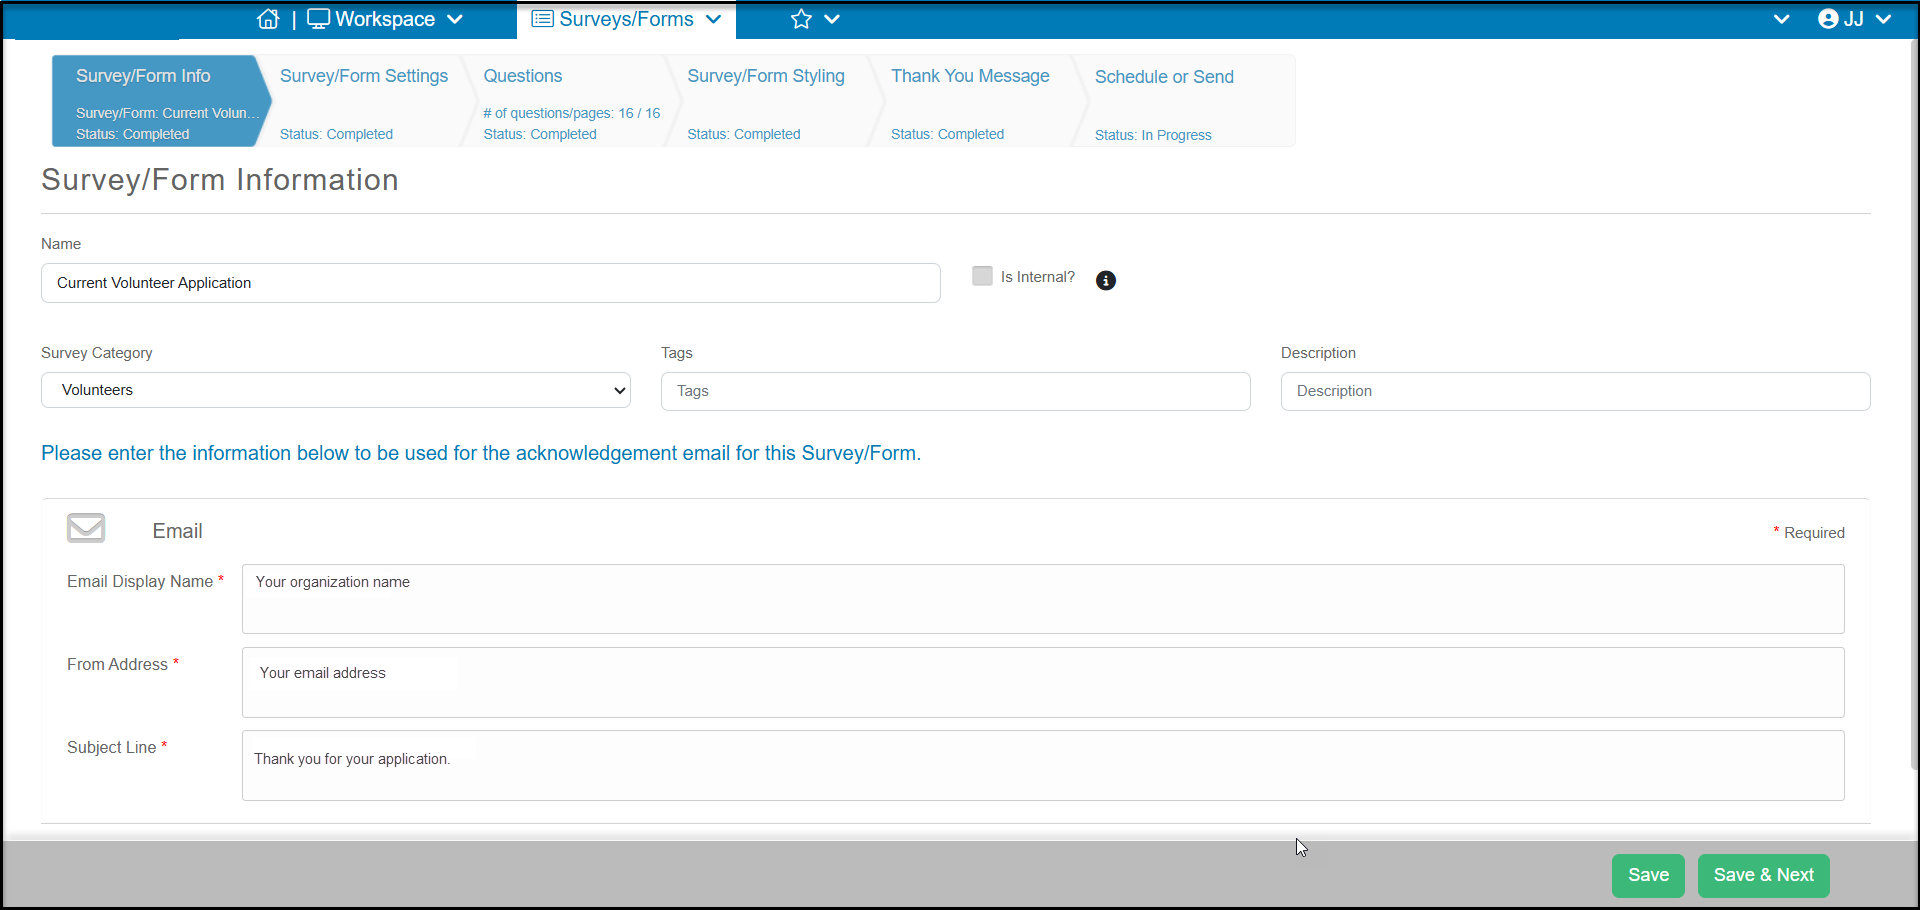
- Survey/Form Info – To enter the basic information such as survey name and description as well as the email sender information
- Survey/Form Settings – Options that determine the behavior of the survey such as survey active dates, logic, enable review tracking, and whether it will be distributed via email or not
- Questions – create, edit, and customize the style of your survey questions
- Survey/Form Styling – customize the look and feel of your survey or poll with fonts, colors and options
- Thank You Message – customize the message that your survey respondent will see after submitting their responses
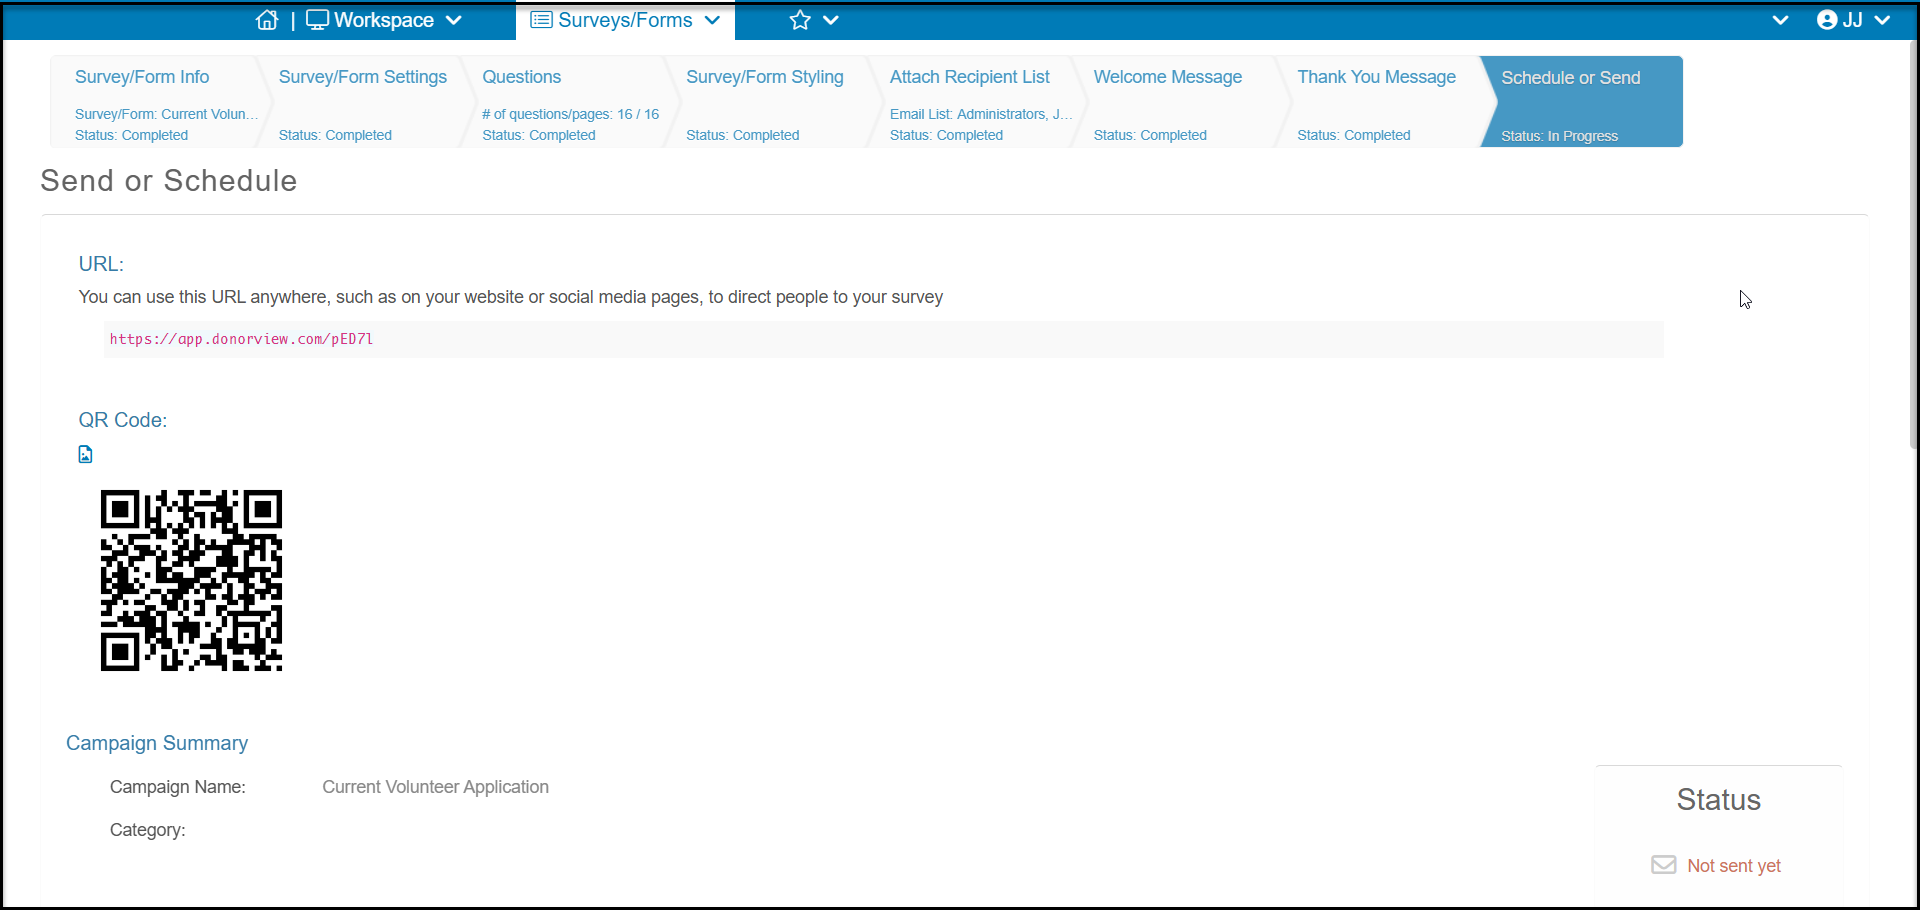
- Schedule or Send – to provide the URL and QR Code for sharing the survey
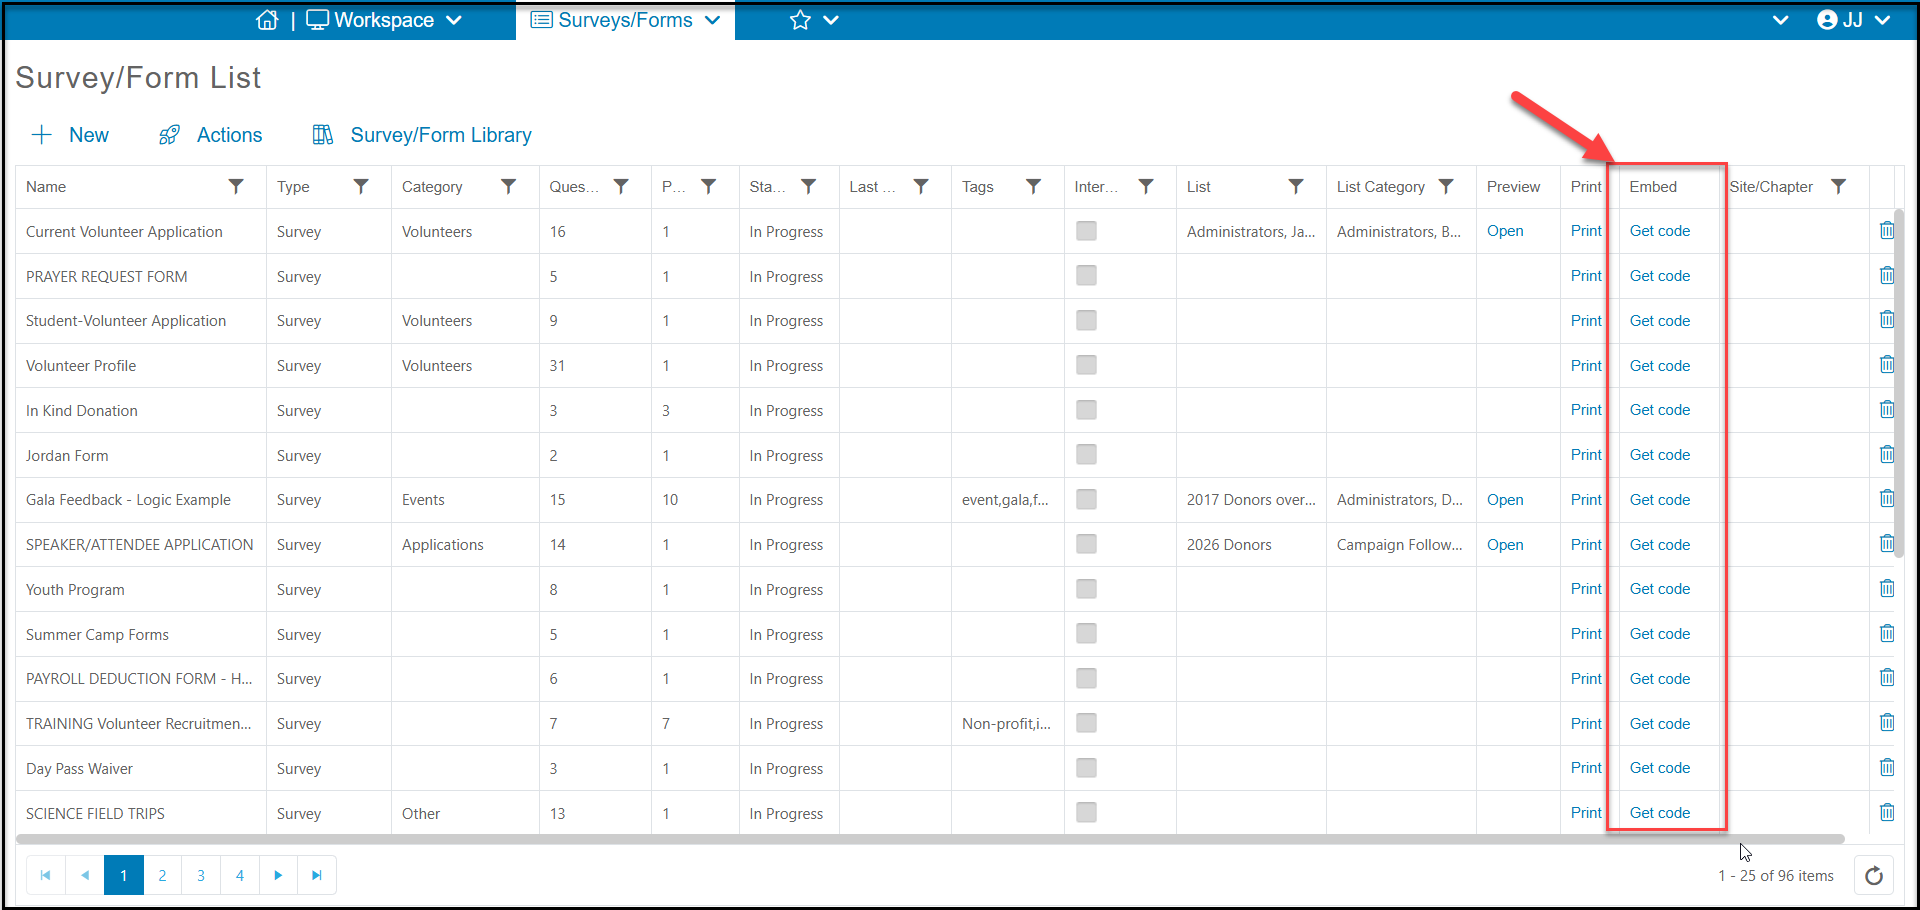
You can share your survey by sharing the URL or QR code via email, social media, printed materials, or text. You can also embed your survey into your website. The embed code is found on the Surveys/Forms Lists page under the Embed column. Click on Get Code to copy the html code to add to your website.
If you would like to distribute your survey to specific email lists, you can activate this option on the Survey/Forms Settings tab. Once activated, two new tabs will appear allowing you to choose the email lists to receive the message, Attach Recipient List, and creating a Welcome Message email to start the survey. The Schedule or Send tab will also allow you to create a test message, sent it immediately or schedule it for a later time or day.
You can learn more about creating and sending surveys in these articles: https://support.associationsphere.com/en/support/solutions/folders/67000528499