Creating recurring events where one registration covers all days.
The second option for recurring events is “Recurring Event, 1 Registration Covers All Days.” This allows you to create your calendar internally and select which days a specific level will occur. This article only covers the features related to setting up these multi-day attendance events. For more information about creating an event page, please see this article "How do I create a new Event?"
This second option is ideal for situations where you have classes or sessions that meet multiple days a week or month but the registrant only needs to register or purchase a single level to be registered for all the days.
It is also a good option if you have the event on a variety of days over several months, with no definitive recurring schedule.
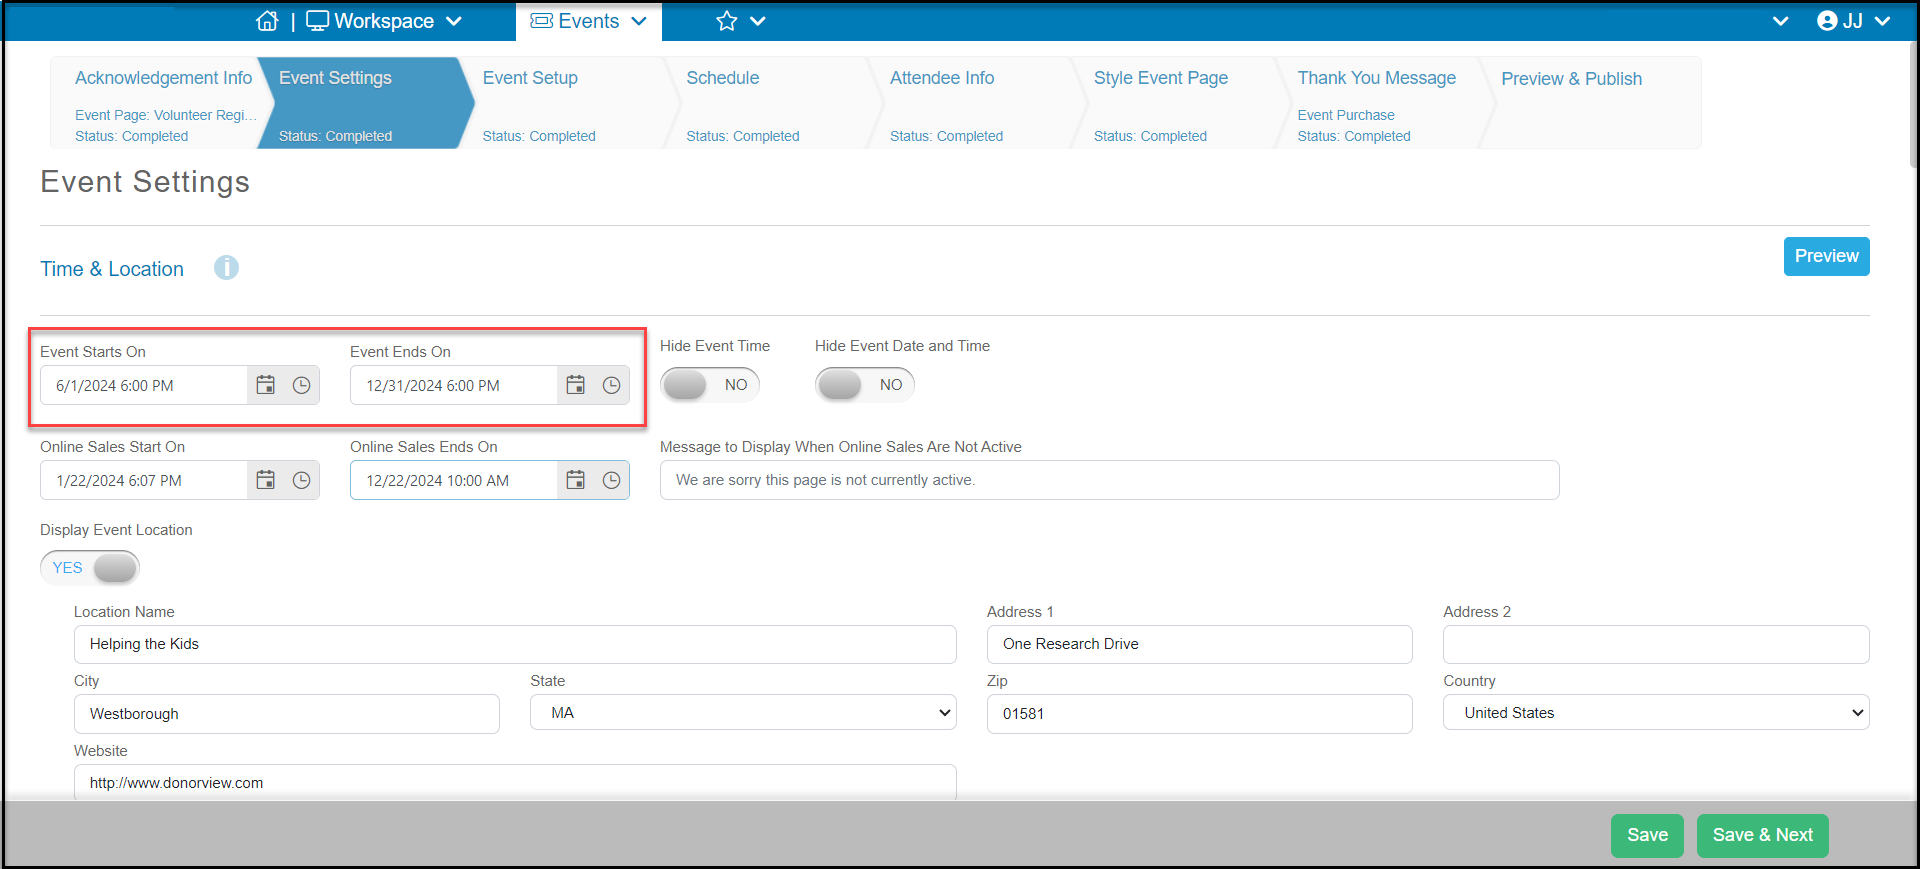
- On the Event Settings tab of the event page wizard, you will complete the Time & Date at the top of the page. Durations should not exceed 420 days if you wish this event to be included on your event calendar.
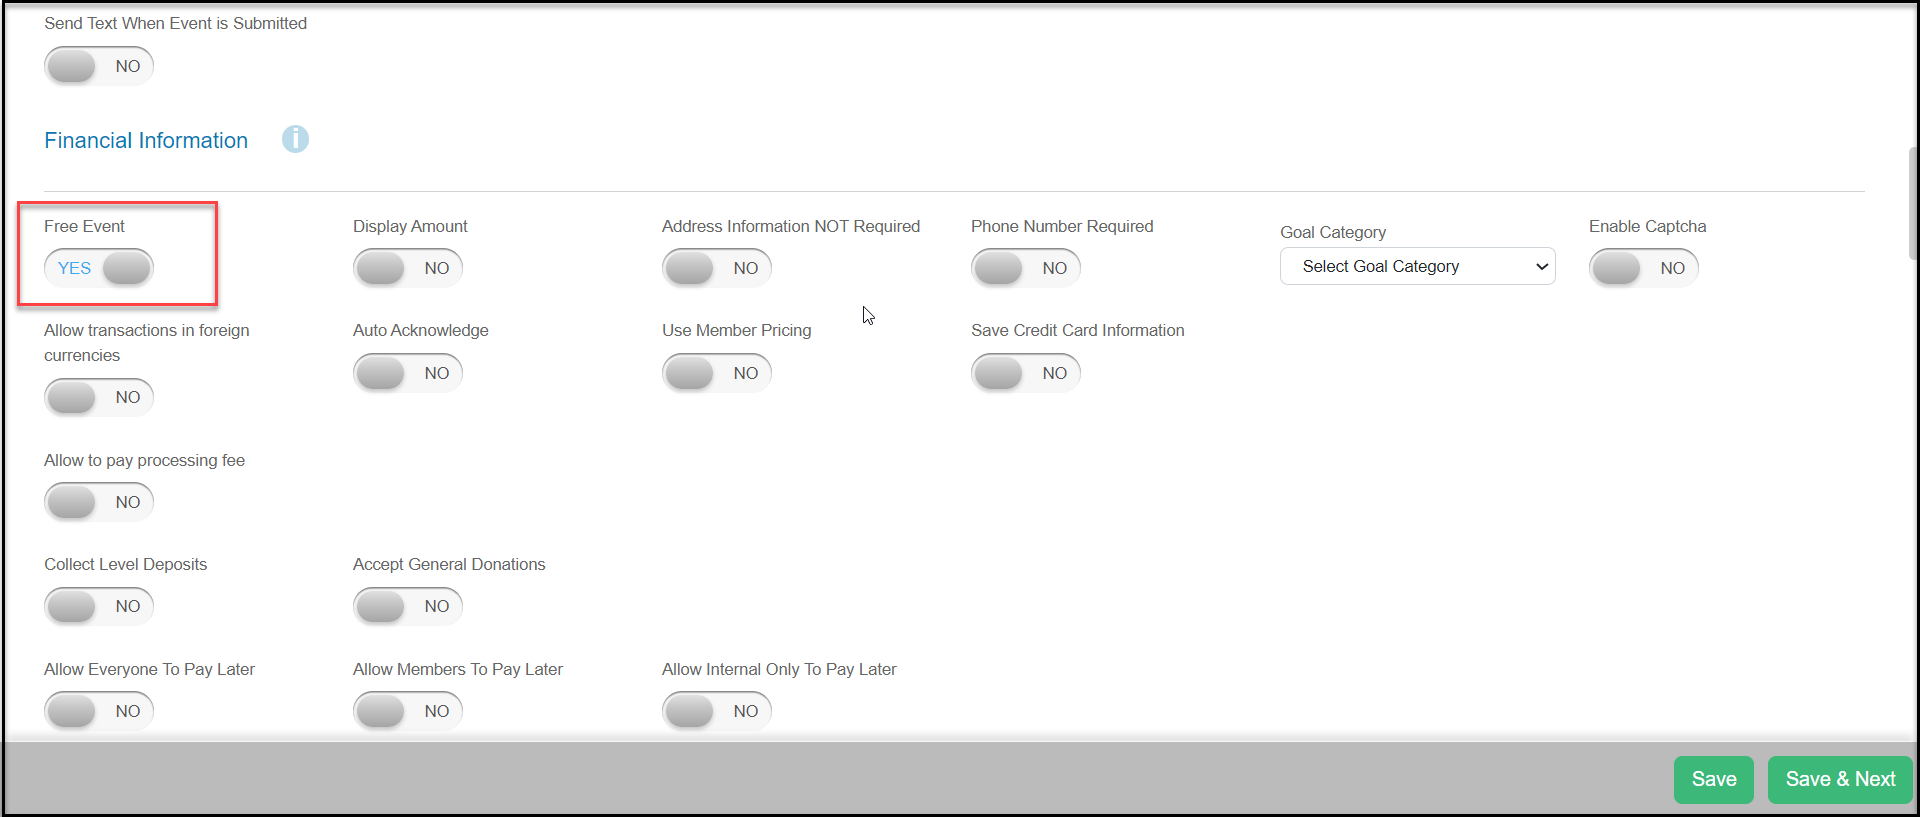
- If the event is free, in the Financial Information section toggle the Free Event button to YES. This will hide the amount field on each ticket level.
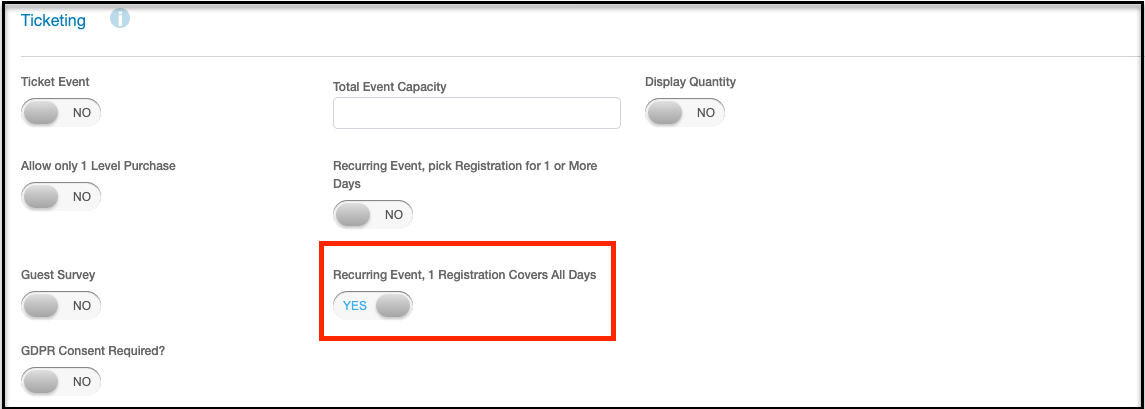
- Under the Ticketing section of your Event Settings tab, set Recurring Event, 1 Registration Covers All Days to YES.
-
On your event level, be sure to include any specific details about the schedule in the description.
-
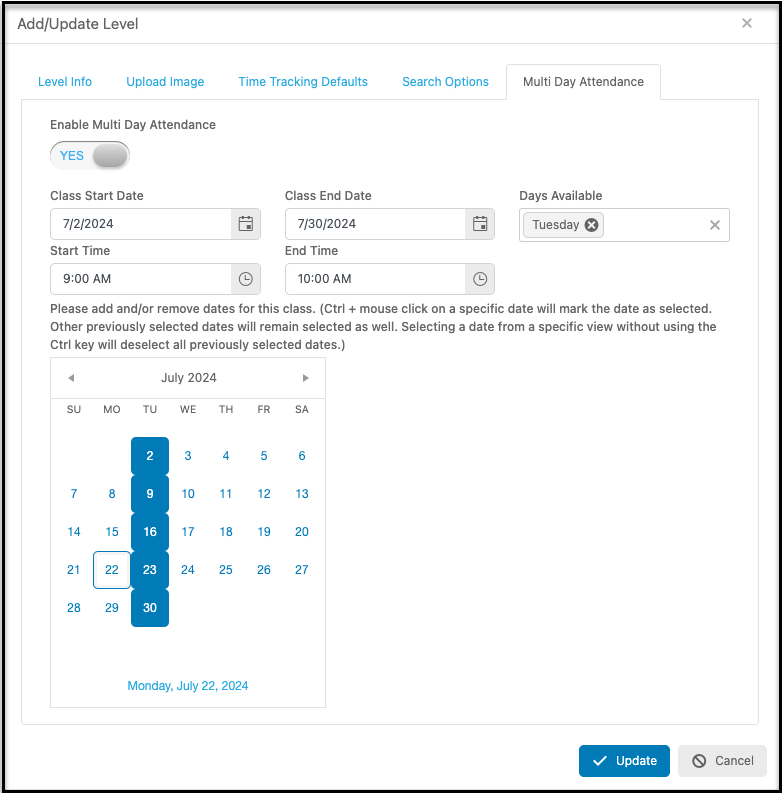
The event level will also include a new tab called Multi Day Attendance. Clicking on this tab will allow you to establish which specific days this level will be attached too. On this tab you will see the following settings:
- Enable Multi Day Attendance – When set to Yes, this will allow you to make your multi day selections.
- Class Start Date – Enter or select the first day this level will occur on.
- Class End Date – Enter or select the last date this level will occur on.
- Days Available – Select which days of the week this level will occur on. You can select multiple days, but still customize when the event happens specifically on the calendar.
- Start Time – Enter or select the recurring start time for this level.
- End Time – Enter or select the recurring end time for this level.
- Calendar– Fine tune which days this level will occur on by adding or removing dates. Ctrl + mouse click on a specific date will mark the date as selected. Selecting a date from a specific view without using the Ctrl key will deselect all previously selected dates.
- Click Update to save your changes.
-
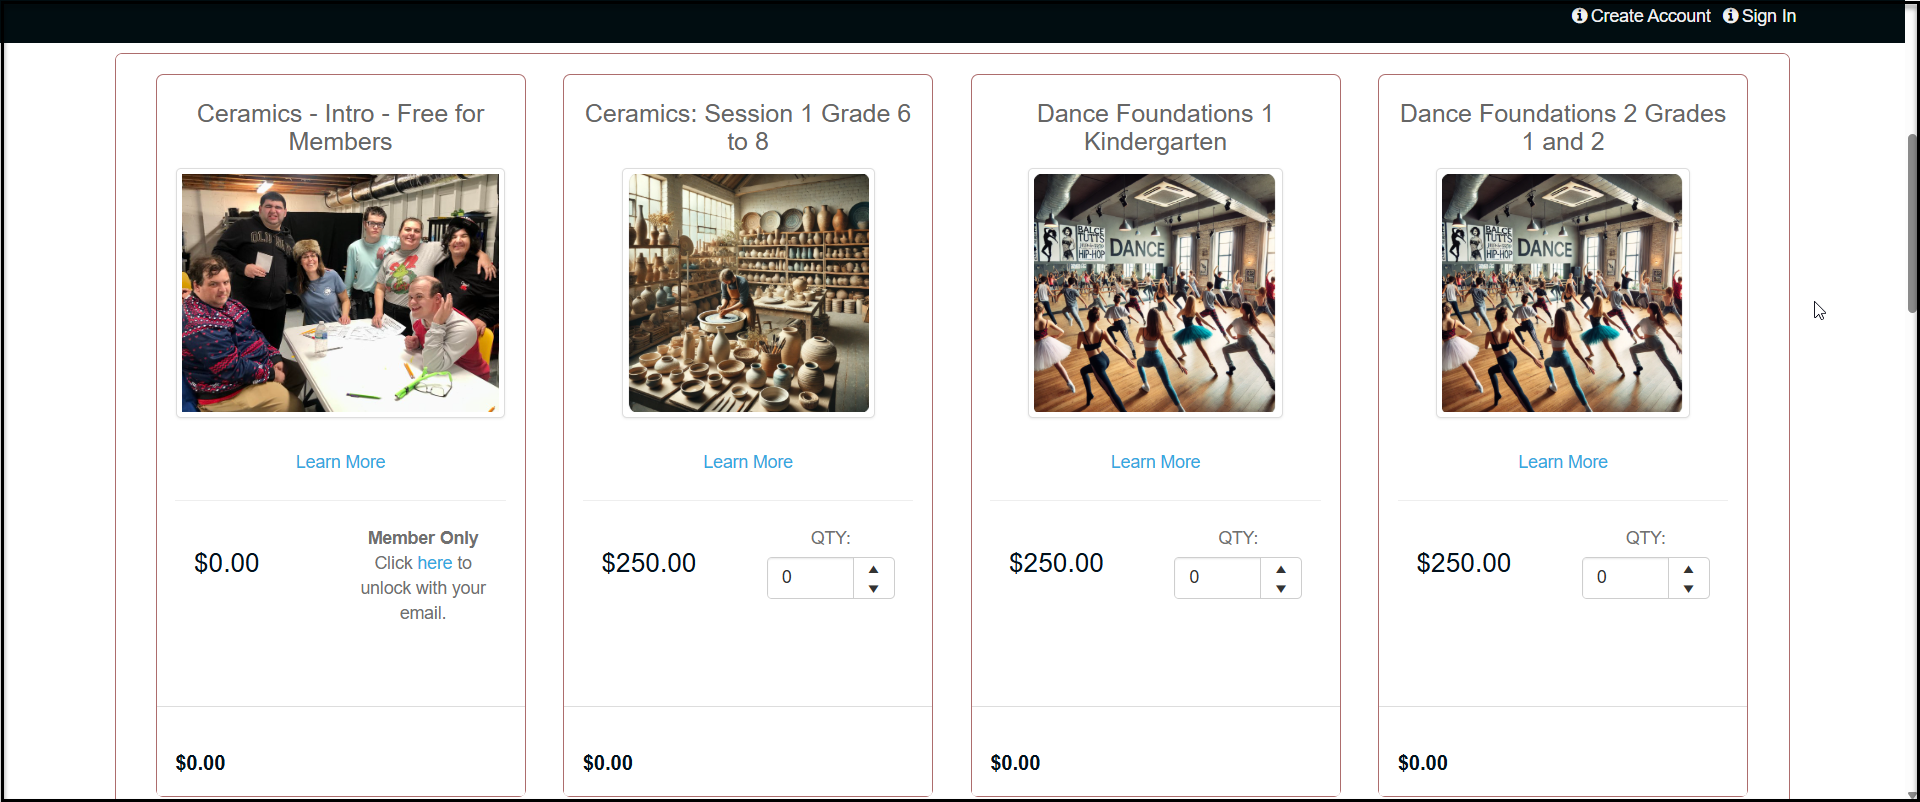
On the event page, the registrants will just see the ticket levels available and be able to select a single or multiple ticket levels by entering a quantity in QTY.
-
When they enter a value in that field, it will automatically be added to their total.
-
They will complete the form and click Submit to finish their registration.
-
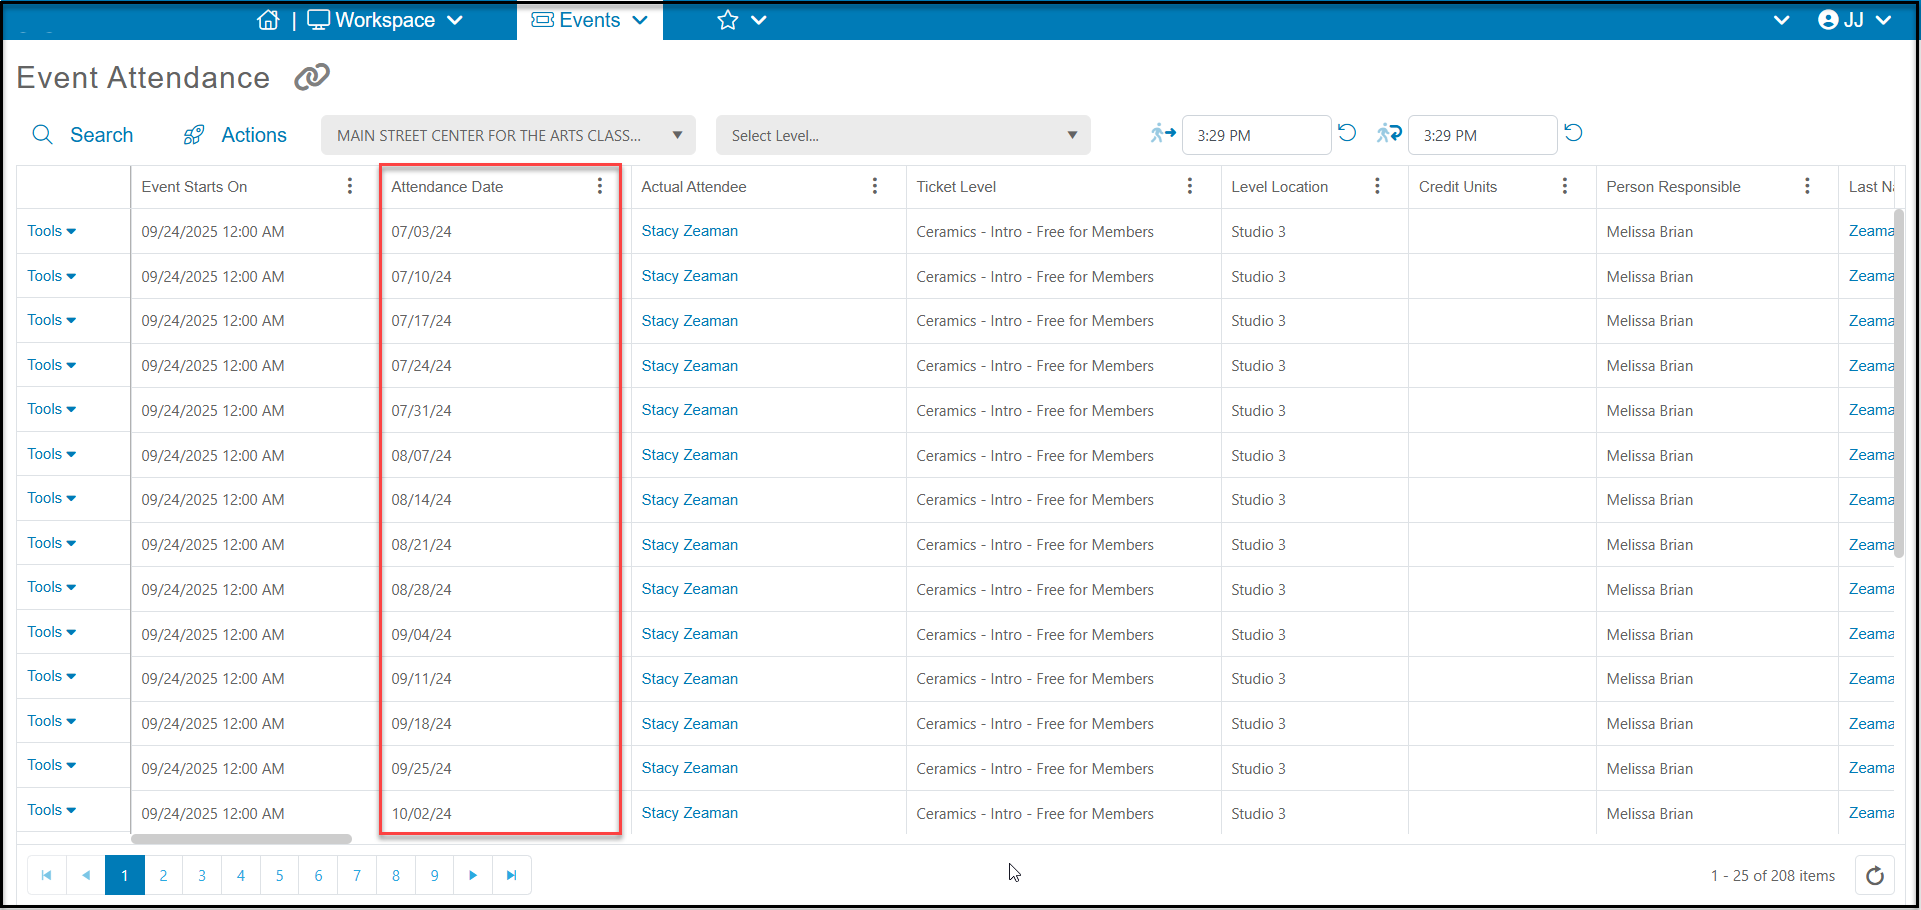
On the Event Attendance grid, you will see the constituents registrations for each session with a specific Attendance Datelisted for each session.
-
Unlike Option 1, the Event Starts Ondate will be the same for the entire event.